Liquid Gold: The Simple Way To Make Ghee From Malai
Liquid Gold: The Simple Way To Make Ghee From Malai


Making ghee at home is a basic skill that turns leftover milk cream into a kitchen staple. By collecting malai and heating it slowly, anyone can produce a pure fat that is much better than shop options. The process requires patience but results in a golden oil that stays fresh for a long time.
Many people buy ghee in jars from the shop, but there is a special satisfaction in making it at home. It starts with the simple act of saving the cream that rises to the top of boiled milk. This malai builds up over a week or two until there is enough to work with. Making it from scratch ensures that the final product is fresh and free from any added extras. It is a slow task that brings a sense of calm to the kitchen and fills the house with a pleasant, nutty smell. When one makes their own staples, they know exactly what goes into their food. This golden oil is more than just a cooking fat; it is a way to use every part of the milk without any waste. Taking the time to do this by hand links the modern kitchen to older, simpler ways of cooking. It is a practical skill that any home cook can master with a bit of practice and a watchful eye.
Collecting The Malai
The first step is to skim the thick layer of malai from the top of the milk every day. This cream is put into a clean container and kept in the fridge so it stays fresh. Traditional cooks often add a small spoonful of curd to the bowl to help the cream sour slightly over time. This little trick makes it much easier to get the butter out later and adds a better depth to the final taste. Once the container is full, it is time to start the actual cooking process. It is best to wait until there is a good amount of cream so that the effort feels worthwhile. Keeping the malai cold is important to prevent it from going off before one is ready to use it.
Making The Butter
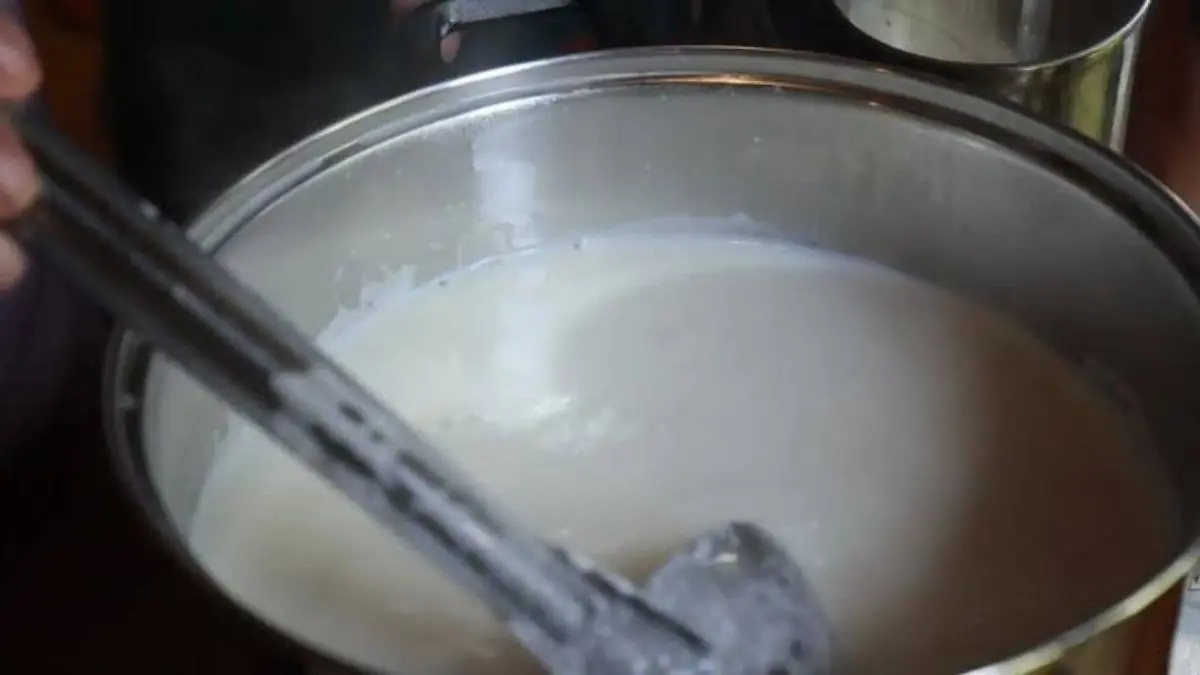
Before turning on the stove, the cold cream needs to be turned into butter. This is done by whisking or blending the malai until the fat separates from the liquid. Cold water is usually added during this stage to help the yellow clumps of butter form properly. The thin liquid that remains is buttermilk, which can be saved for other recipes or drunk as a cool treat. The butter is then washed a few times in fresh water to make sure it is very clean. This step is vital because any leftover milk solids in the butter will make the ghee spoil faster. The goal is to have clean, firm lumps of pale butter ready for the heat.
Starting The Heat
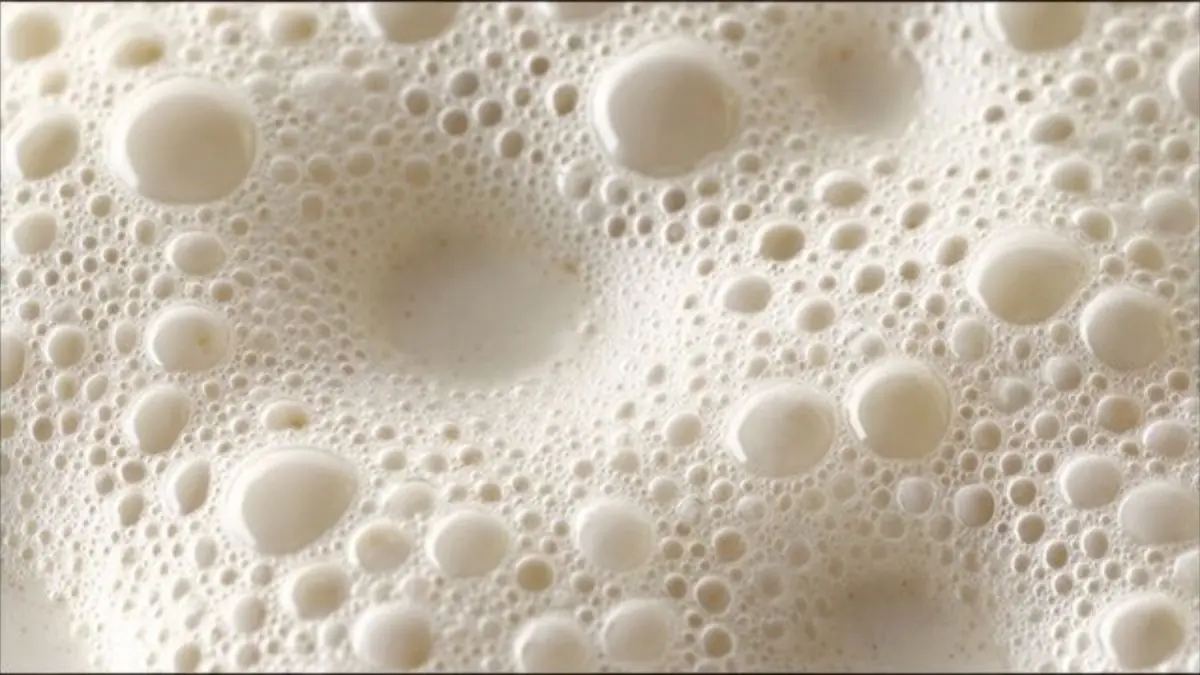
The clean butter is placed into a heavy pan to melt down. While a traditional kadai is often used for this, any sturdy pot will work well to keep the heat even. The butter starts to foam and bubble as the water inside it begins to evaporate. Even if one is using modern induction cookware, the heat should be kept low and steady throughout. If the temperature is too high, the butter will burn instead of clarifying, which ruins the whole batch. Watching the butter melt into a yellow liquid is the start of the real transformation. It requires a bit of stay-at-home patience as the moisture slowly leaves the pan.

Watching The Liquid
As the butter simmers, the milky bits start to sink to the bottom of the vessel. It is important to use stainless steel utensils to stir the liquid occasionally so nothing sticks or burns. The bubbles will change from large and noisy to small and quiet as the water disappears. This shift in sound is a clear sign that the process is nearly finished. The liquid will slowly turn from a cloudy yellow to a clear, see-through amber colour. The smell also shifts from plain milk to something much richer and more like toasted nuts. This is the moment when the cook must stay close to the stove and watch every second.
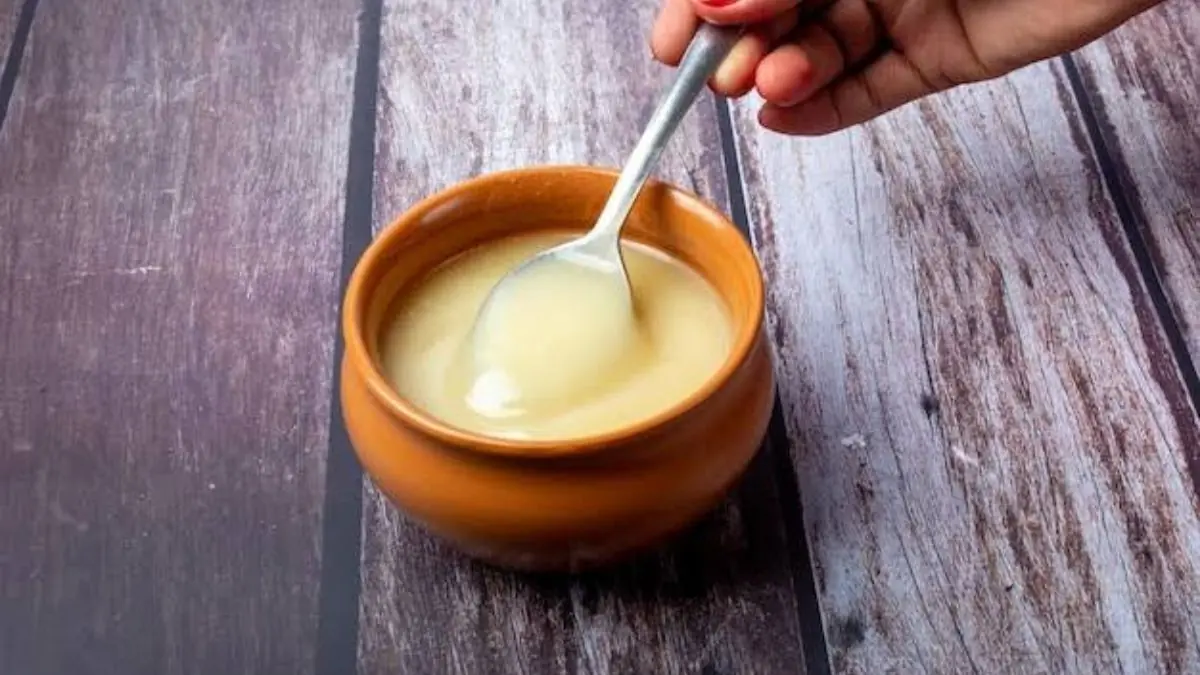
Straining And Storing
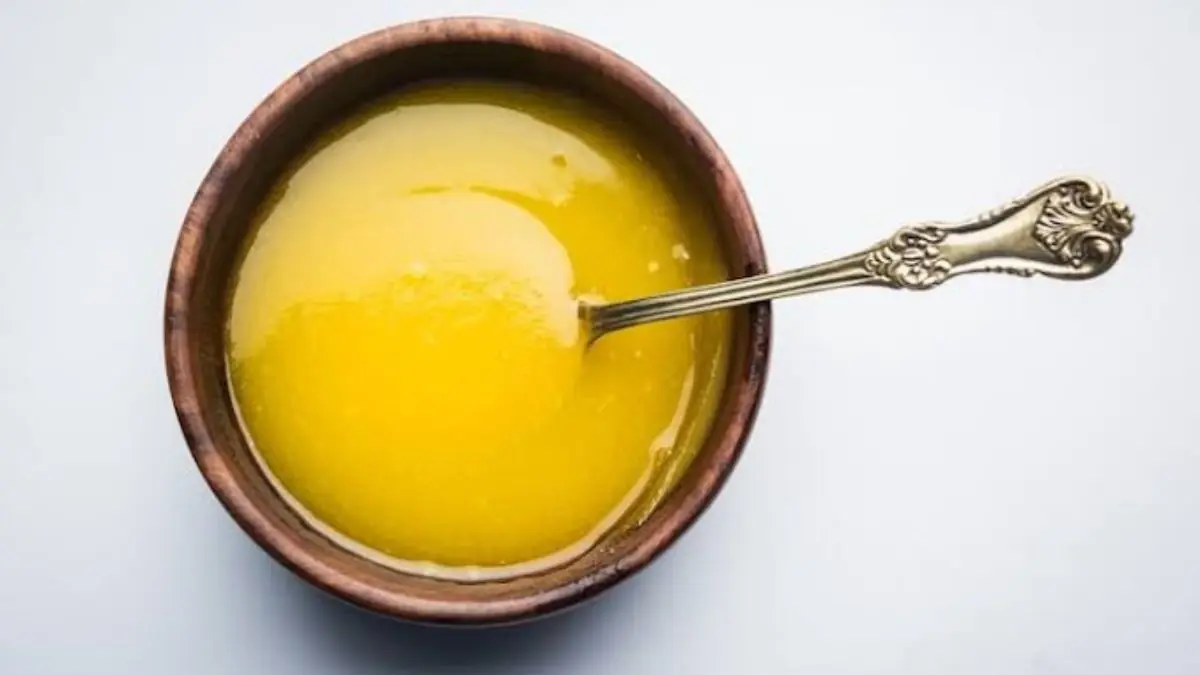
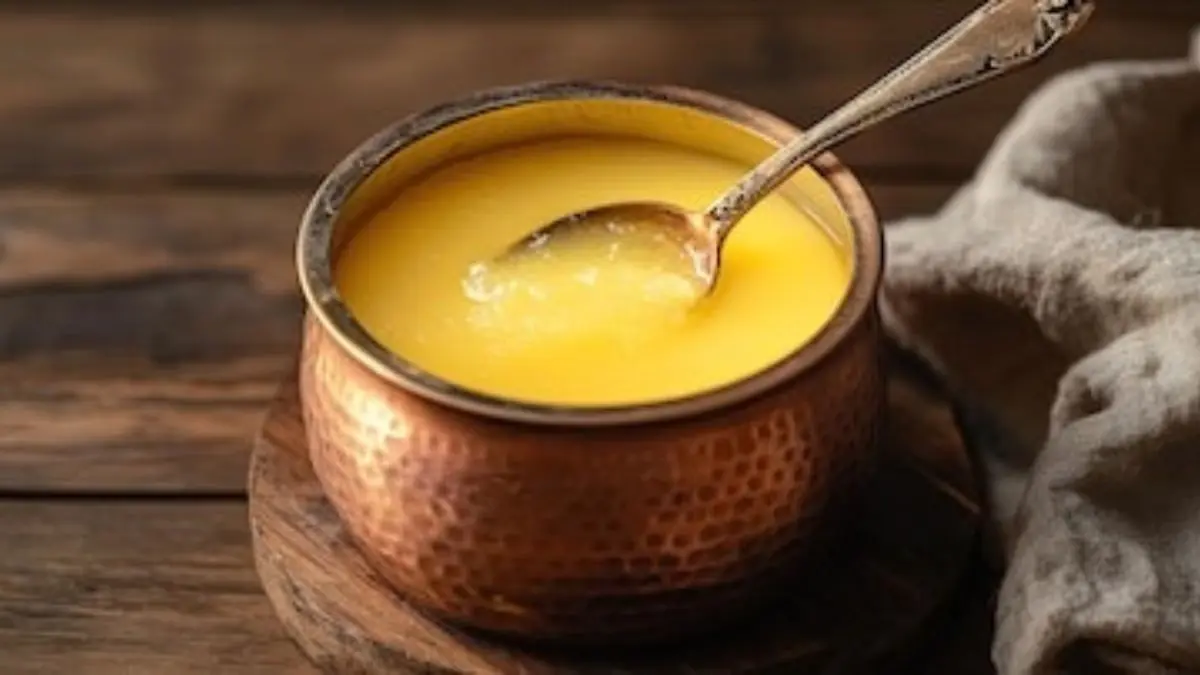
The heat is turned off as soon as the bits at the bottom look like light brown sand. The liquid stays very hot for a while, so it keeps cooking even after the stove is switched off. Once it has cooled down just a little, the golden oil is poured through a fine cloth or sieve into a clean glass jar. This step removes all the toasted bits and leaves only the pure fat behind. After sitting for a few hours, the ghee becomes solid and takes on a grainy texture that feels like fine sand. This homemade gold can sit in a dark cupboard for a long time and makes every meal taste a bit more like home.