Hung Curd 101: Simple Techniques For Making This Versatile Ingredient
Hung Curd 101: Simple Techniques For Making This Versatile Ingredient


This article provides a detailed look at the simple process of making hung curd in a home kitchen. It explains why this ingredient is so useful for Indian cooking and what basic tools are needed to get the best results.
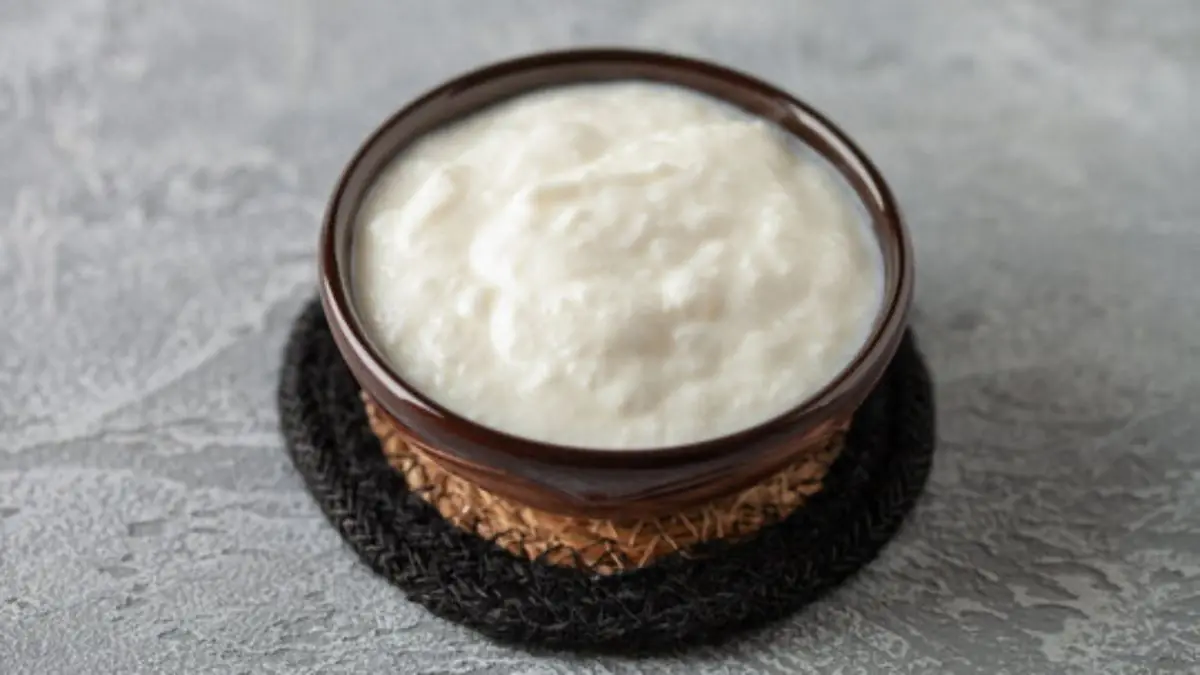
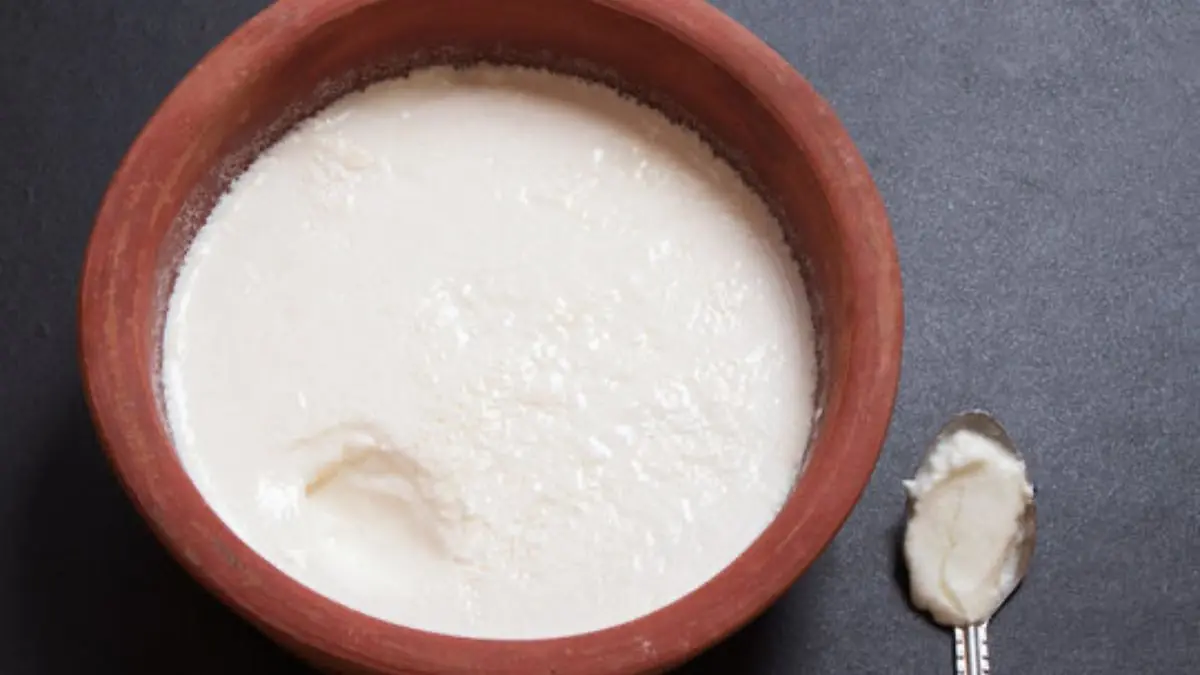
Every Indian kitchen is familiar with dahi, but not everyone knows how easily it can be turned into something much more special. Hung curd is simply regular yoghurt that has had its water removed to leave behind a thick, creamy, and smooth substance. This ingredient is the secret behind many restaurant-style dishes that have a rich and heavy texture without the need for excess oil or heavy cream. For a cook who is just starting to experiment with new techniques, making hung curd is an excellent way to learn about food textures and how simple changes can lead to big results. It does not require any fancy skills or rare ingredients, only a few standard kitchen tools and a bit of time. By learning this one method, a home cook can prepare everything from healthy dips to traditional desserts. The beauty of this process lies in its simplicity and the way it uses basic science to concentrate flavour and improve the feel of the food in the mouth.
Selecting The Right Tools And Setting Up
The first step in making perfect hung curd is gathering the right equipment. A stainless steel bowl is the best choice for this task because it is very easy to clean and does not hold onto smells from previous meals. In many Indian homes, stainless steel is the preferred material because it is durable and remains hygienic even after years of use. If a cook chooses to make their own yoghurt from scratch, they might use an induction cooktop to boil the milk. An induction cooktop is helpful because it allows for very precise heat settings, which prevents the milk from burning at the bottom of the pot. Once the milk is boiled and cooled down to a lukewarm temperature, a little bit of old curd is added to start the setting process. After the yoghurt is firm and ready, it is time to set up the straining station. A large square of clean muslin cloth or a thin cotton cloth is needed. This cloth is placed inside a stainless steel sieve, which is then balanced over a deep bowl. Using a deep bowl is important so that the liquid that drips out does not touch the bottom of the sieve. This simple arrangement of a bowl, a sieve, and a cloth is the most effective way to separate the milk solids from the water.
The Straining Process And Temperature Control
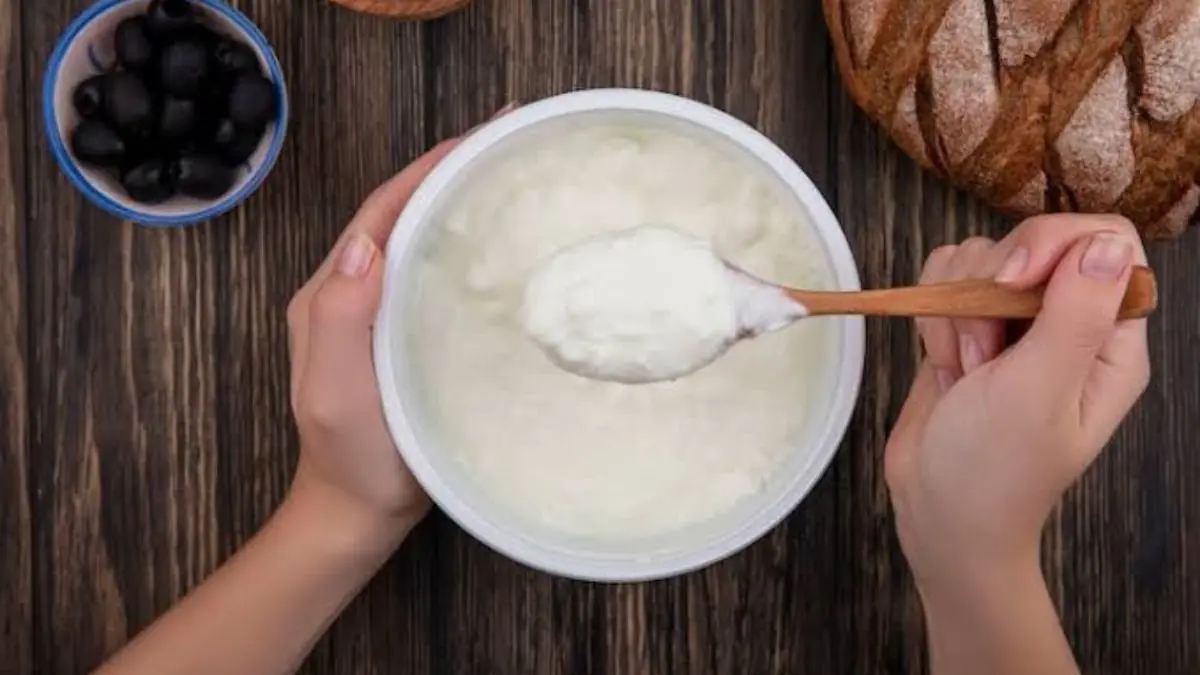
Once the yoghurt is poured into the centre of the muslin cloth, the corners of the fabric are gathered and tied tightly. This creates a small bundle that can be gently squeezed to start the process of removing the water. Gravity does most of the work here as the clear liquid begins to drip into the stainless steel bowl below. One of the most important things to remember in an Indian kitchen is the effect of the weather. Because the climate is often quite warm, leaving yoghurt out on the counter for many hours can make it very sour. To keep the flavour mild and fresh, it is a very good idea to place the entire setup, the bowl, the sieve, and the bundle, inside the refrigerator. This cold straining method takes a little longer but produces a much better taste. For a light and creamy texture that works well in a salad, two hours of hanging might be enough. However, if the goal is to make something very thick like a spread or a base for kebabs, the bundle should stay in the fridge for at least six to eight hours. Over time, the yoghurt will shrink in size as it loses its water, eventually becoming a dense and velvety block that looks almost like soft cheese.
Making Use Of Whey And Cleaning Up
As the yoghurt strains, a yellowish liquid will collect in the bowl. This liquid is called whey and it is full of good nutrients and protein. It is a mistake to throw this liquid away because it can be used in many other parts of cooking. A cook can add this whey to the flour when making dough for rotis or parathas, which makes the bread much softer and more nutritious. It can also be added to a dal or a vegetable curry to give it a slightly tangy taste. By using the whey, the cook ensures that nothing goes to waste and the meal becomes healthier. After the hung curd is removed from the cloth, the cleanup process is also quite simple. The muslin cloth should be washed immediately in hot water to remove any milk fat that might be trapped in the fibres. If the cloth is not cleaned properly, it can develop a bad smell, so it is best to boil it occasionally to keep it fresh. The stainless steel tools can be washed with regular soap and dried quickly to prevent any water spots. Taking care of these basic tools ensures that they last for a long time and are always ready for the next kitchen project.
Creative Ways To Use Hung Curd
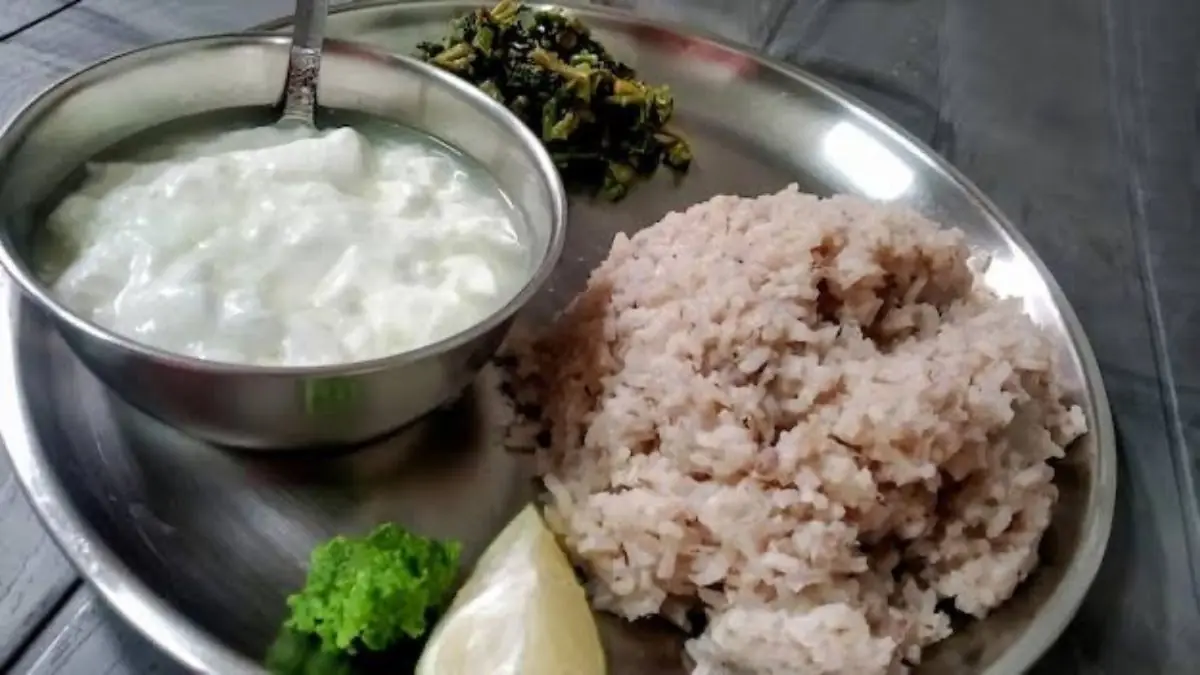
The final product is a very versatile ingredient that can be used in both sweet and savoury ways. For those who have a sweet tooth, the thick curd can be mixed with some powdered sugar and a little bit of cardamom to make a quick version of Shrikhand. This is a very popular dessert in many parts of India and tastes even better when it is made fresh at home. If someone wants a healthy snack, they can mix the hung curd with finely chopped vegetables like carrots and cucumbers to make a thick sandwich spread. This is a great alternative to butter or mayonnaise. In main course cooking, hung curd is used to make the best marinades for grilled dishes. Because it is so thick, it sticks to the food very well and carries the flavour of spices like ginger, garlic, and cumin right into the heart of the dish. It can also be shaped into small balls and lightly fried to make delicious Dahi Ke Kebab. The possibilities are truly endless once the basic technique is mastered. It allows a beginner to feel more confident in the kitchen by creating professional textures with very little effort.