How To Make Dhokla In A Rice Cooker
How To Make Dhokla In A Rice Cooker


The preparation of traditional steamed snacks from Western India often requires specialised equipment to achieve the perfect airy texture. Using a standard kitchen appliance simplifies this steaming process while maintaining the light and spongy quality of the food. This method offers a modern and accessible approach to a classic vegetarian staple for home cooks.
Cooking can feel like a big challenge when you are just starting out. Many people think that traditional Indian snacks are too hard to make at home. They see the soft and yellow squares in shops and think they need special tools. But that is not true at all. You can make a beautiful batch of food using the things you already have in your kitchen. One of the best ways to start your vegetarian cooking journey is by learning how to prepare a light and healthy dhokla. This snack is famous for being spongy and full of flavour. It is the perfect treat for breakfast or a tea-time snack with friends.
The Joy Of The Dhokla Dish
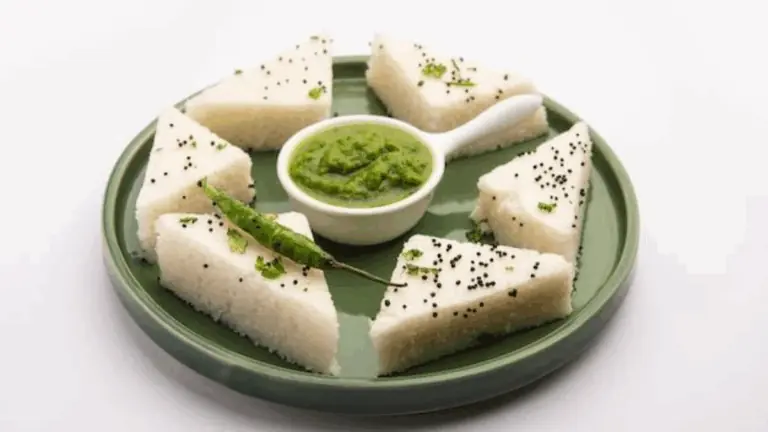
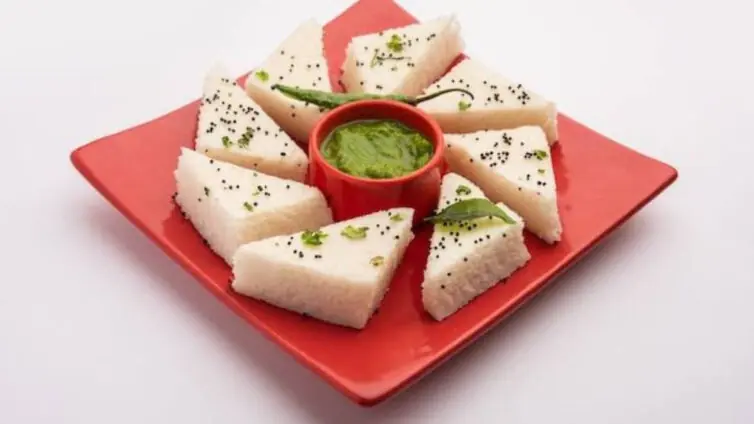
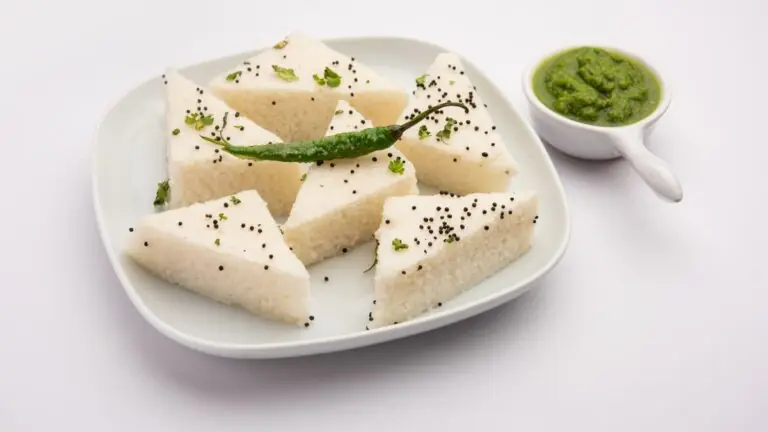
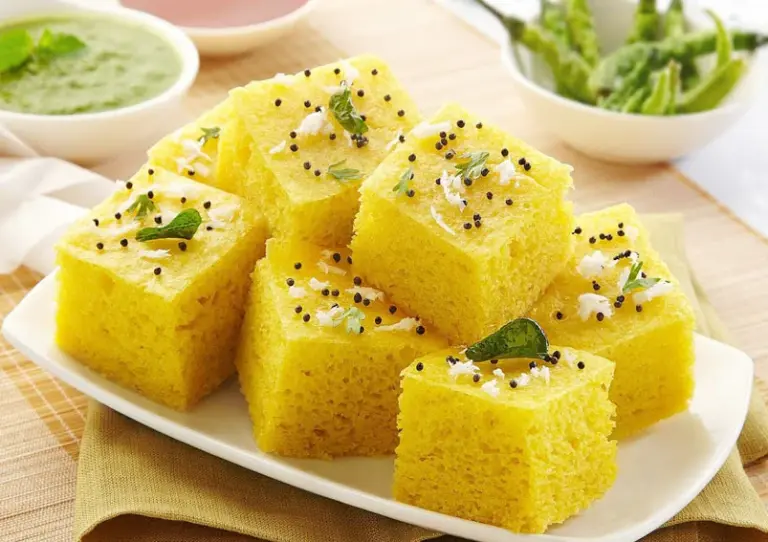
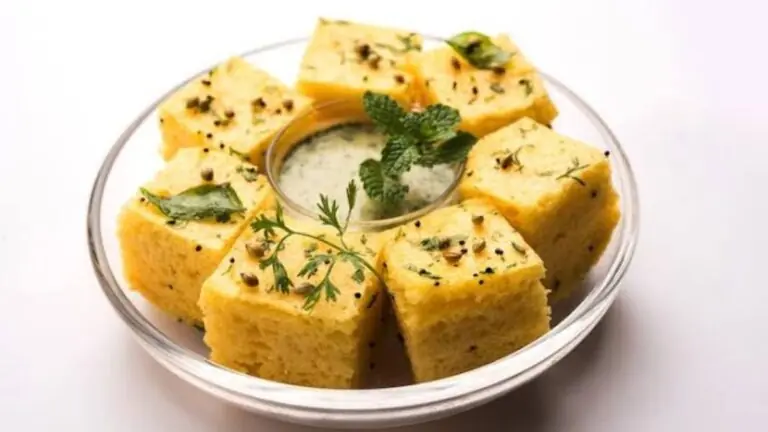
A dhokla dish is a very popular part of Gujarati culture. It is a savoury cake made primarily from gram flour. The bright yellow colour comes from a tiny bit of turmeric. It is steamed rather than fried. This makes it a very healthy choice for people who want to eat well. When you take a bite, it should feel light and almost like a cloud. It should be sweet and sour and spicy all at the same time. Many people love it because it is naturally vegetarian and very filling. You do not need to be an expert to appreciate the balance of flavours in this snack.
The Secrets Of How To Make Dhokla
If you want to know how to make dhokla without any stress, you need to focus on the batter. The batter is the heart of the recipe. It needs to be smooth and free of any lumps. You usually mix gram flour with some semolina for a bit of texture. Then you add ginger and green chilli paste for a little kick. The most important part is getting the bubbles right. This is what makes the snack rise and become fluffy. Traditional recipes sometimes use fermentation over many hours. But as a beginner, you can use a quick method that gives great results in minutes. You just need to follow the steps carefully and keep your ingredients ready.
Why Use A Rice Cooker
Most people think a rice cooker is only for making plain rice. But it is actually a very versatile tool for steaming. It provides a constant and gentle heat that is perfect for delicate batters. Using a modern rice cooker allows you to set the timer and walk away. You do not have to worry about the flame or the water boiling over on the stove. The closed environment of the machine keeps the steam trapped inside. This moisture is exactly what a dhokla needs to stay soft. It prevents the edges from getting dry or hard. It is a very clever way to use technology for traditional cooking.
Preparing Your Ingredients
Before you begin, you must gather everything on your counter. This makes the process much smoother. You will need:
- One cup of gram flour or besan
- One tablespoon of semolina or rava
- Half a teaspoon of turmeric powder
- A pinch of asafoetida or hing
- One teaspoon of ginger and green chilli paste
- Salt to taste
- One teaspoon of sugar
- One teaspoon of lemon juice
- One teaspoon of fruit salt or Eno
- Water as needed for the batter
You can find more ideas for vegetarian snacks and starters to pair with this recipe. Having everything in one place helps you stay calm while you cook.
Mixing The Perfect Batter
Start by sifting the gram flour into a large bowl. Sifting is important because it removes lumps and adds air to the flour. Add the semolina and the dry spices. Slowly pour in the water and whisk the mixture. You want a consistency that is thick but can still pour easily. Add the ginger paste, lemon juice, and sugar. Stir everything until the sugar dissolves. Let the batter rest for about ten minutes. This allows the semolina to absorb some moisture. After the rest, the batter might look a bit thicker. You can add a tiny splash of water if it feels too heavy.
Setting Up The Steaming Station
Take your rice cooker and pour about two cups of water into the inner pot. Place a small wire rack or a ring at the bottom. This will keep your baking tin above the water. Grease a round tin or a stainless steel bowl with a little bit of oil. Make sure the tin fits easily inside the cooker. Turn on the machine and let the water start to boil. You want the steam to be ready before you add the final ingredient to the batter. This timing is very important for the lift of the snack.
The Final Step For Fluffiness
Once the water is steaming, it is time to add the fruit salt. This is the magic moment in any dhokla recipe. Sprinkle the fruit salt over the batter and add a teaspoon of water on top of it. You will see bubbles forming immediately. Gently fold the batter in one direction. Do not overmix or the bubbles will pop. The batter will become light and frothy and will increase in volume. Quickly pour this mixture into your greased tin. Place the tin inside the cooker on top of the rack. Close the lid and let it steam for about fifteen to twenty minutes.
Checking For Doneness
After fifteen minutes, you can open the lid carefully. Be careful of the hot steam hitting your face. Take a toothpick or a thin knife and poke the centre of the cake. If it comes out clean, your snack is ready. If there is wet batter on the knife, it needs a few more minutes. Once it is done, lift the tin out of the cooker. Let it cool down for five minutes before you try to remove it. This resting period helps the structure set so it does not break when you cut it into squares.
The Tempering Ritual
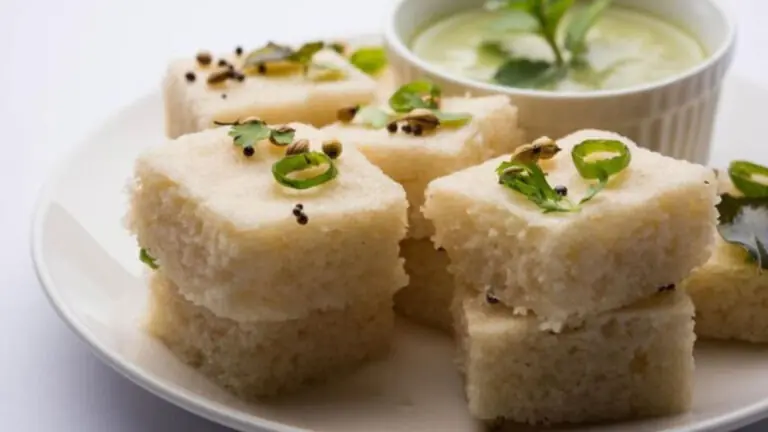
A dhokla is not complete without the final tempering or tadka. This adds a lot of moisture and extra flavour to the top. Heat a little oil in a small pan. Add mustard seeds and let them pop. Add some sesame seeds, curry leaves, and sliced green chillies. Pour in half a cup of water and a spoonful of sugar. Let this mixture come to a boil. Carefully pour this hot liquid over the warm squares of the snack. The sponge will soak up the water and become even softer. Garnish the top with fresh coriander and some grated coconut.
Serving Suggestions
You can serve this dish with a variety of chutneys. A spicy green chutney made with mint and coriander is the most common choice. Some people also like a sweet tamarind chutney on the side. It tastes great when it is warm, but you can also eat it cold the next day. It packs very well for lunch boxes or picnics because it does not get messy. You can find a great recipe for fresh coriander chutney to complete your meal.