No-Oven Pizza: How To Make Restaurant-Style Pizza At Home On Stovetop
No-Oven Pizza: How To Make Restaurant-Style Pizza At Home On Stovetop


For young adults who like to cook, venturing into the kitchen is almost as if the doors to Aladin’s treasure-filled have opened up to them. Everything is up for grabs (except for certain appliances) which makes cooking an adventurous activity. And if there is one dish that young adults like, it is a good pizza. With minimal apparatus and intelligent application, restaurant-style pizzas can be easily prepared at home on the stovetop.
Pan pizzas or pizzas prepared at home on the stovetop are sheer delights for young adults. And if these are ‘grown-up’ kids who like to cook, then right from preparing the toppings to assembling the pizzas, everything amounts to adventurous culinary fare. With minimal appliances and clever applications of available tools, young adults can take to the kitchen and explore all the treasures hidden inside while crafting these delicious pizzas. No oven, no fancy equipment, the pizzas can still taste restaurant-style and release those familiar aromas from your favourite pizza place. All that’s required is good heat control and just a little bit of concentration.
Step 1: Choose The Right Pan
The way to a good pizza made without an oven begins with the right pan. A good stovetop does provide even heating but the right pan has to be one which holds this heat well and aids uniform cooking across the entire base of the pizza. A heavy cast-iron skillet can be the safest equipment for a young adult to use. It is easy to handle and will grill the pizza with much finesse. Another alternative could be a thick-bottomed non-stick fry pan with a lid. Placing the lid on the pan as the pizza cooks helps in melting the cheese to a gooey consistency. A hard anodised tawa is also a good option, as long as it heats the pizza without crispening the crust into a very hard surface.
Step 2: Make Soft, Not Sticky Dough
While young adults can easily use store-bought pizza bases to prepare a pan pizza at home, crafting the base from scratch at home is also possible, with just a little bit of help from the actual grown-ups. Use lukewarm water to knead the dough and keep mixing it until completely elastic and smooth. Let the dough rise, that is, let it become double its original size. While crafting the base, smoothen out a chunk of dough that is thicker than the thin-crust oven version. This is because a pan pizza cooked on a stovetop requires more structure.
Step 3: Keep All Toppings Ready
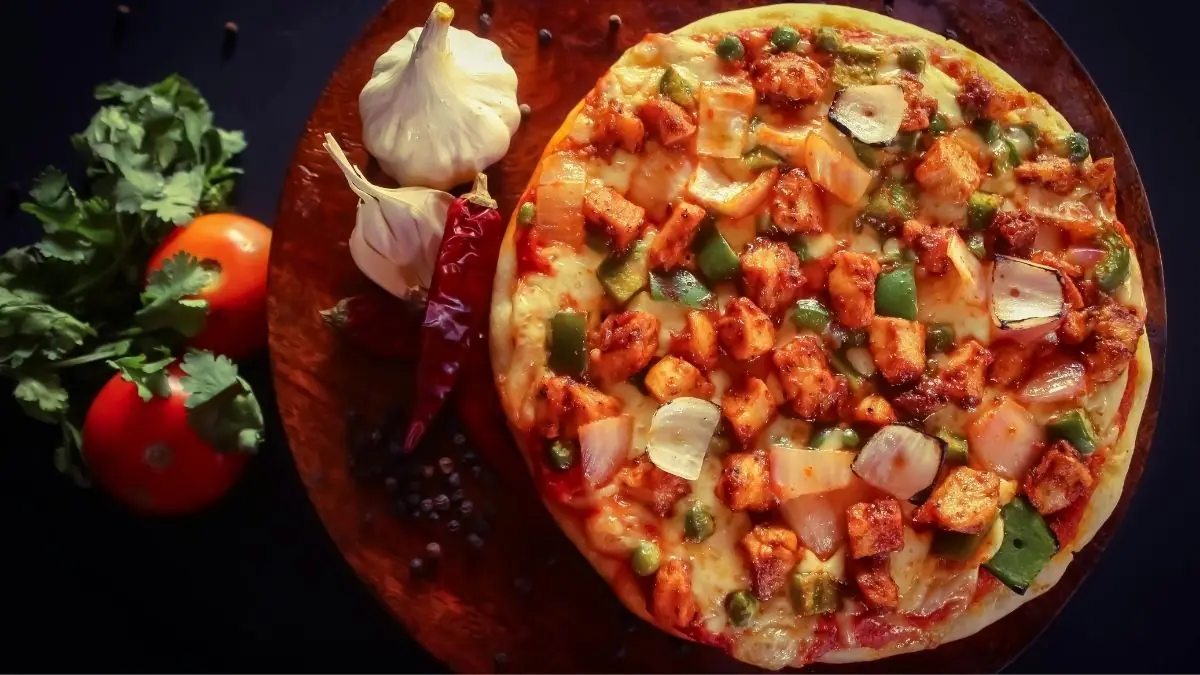
Before beginning the process of heating pizzas on the stovetop, keep all the essential pizza-making ingredients at the ready. Once the pan heats, there is no pause button and you will have to keep churning out delicious pizzas at a steady, non-stop pace! So, keep thinly sliced vegetables, lightly sautéed mushrooms, onions and peppers, some olives and jalapeños ready in small bowls. Chicken chunks, cut-up sausages and paneer cubes can also be among the topping options prepped and readied for the pizza. Each pizza base can be peppered with these toppings according to the preferences of the family members. Moderate amounts of toppings ensure flavour balance and a quick cook on the pizzas.
Step 4: Preheat The Pan, Cook The Base
Start the process of making the stovetop pizzas by preheating the pan for at least 3-4 minutes. This readies the pan for what is about to come and quickens the cook on the first pizza that will be placed on it. To find out if the pan is warm enough, sprinkle a few drops of water on it. If they sizzle and evaporate quickly, it means the pan is ready for cooking. Now, roll out the dough to about three-fourth size of the pan and place it gently on the prewarmed surface. Cook it uncovered for a couple of minutes and dock lightly with a fork to prevent the formation of air bubbles. The dough has to be warm, but never cook it fully. Just look for light, golden spots at the bottom.
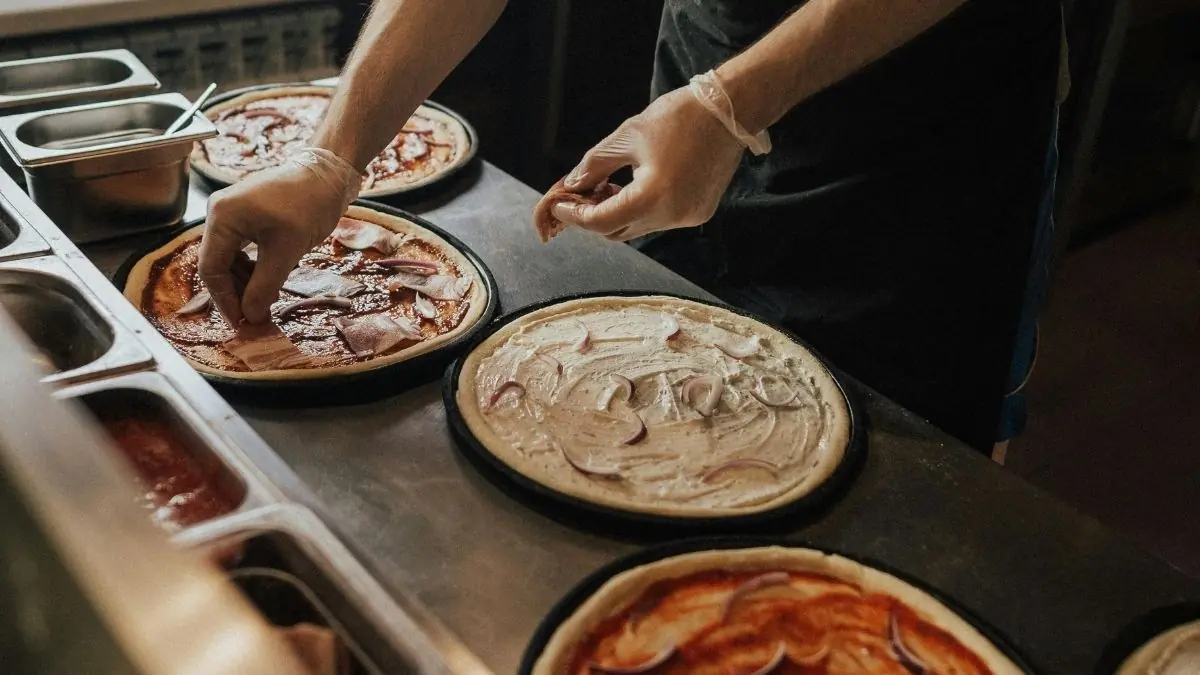
Step 5: Layer The Pizza
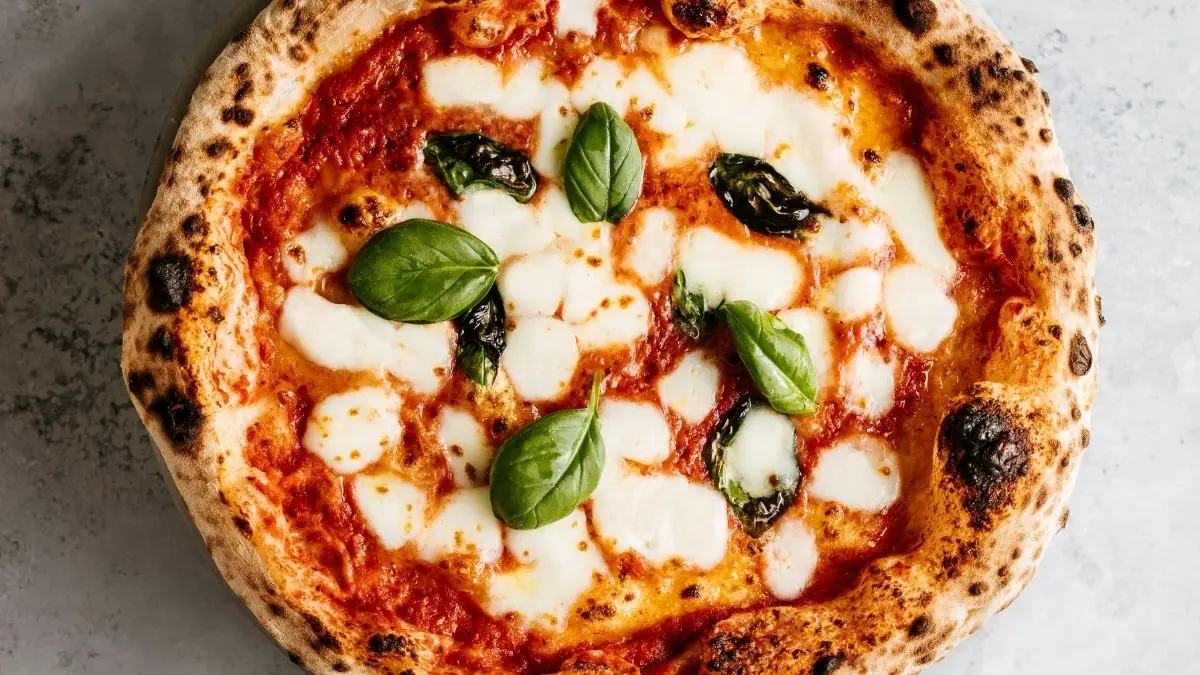
After the pizza base is prepped, it is now time to layer it with the sauces, toppings and cheese. Prepare a couple of sauces like pesto and a basic tomato sauce for more variety. Spread sauce over the pizza but avoid the edges, for a restaurant-style authenticity. Next, add toppings of your choice. Choose from those already arranged on the countertop for efficient, quick layering. Last comes the cheese: go for grated mozzarella or a pizza blend available in stores. Finally, touch up the pizza with basil or arugula leaves to lend it a Neapolitan-style edge. This process has to be completed quickly to retain the heat in the dough, without letting it become mushy and watery.
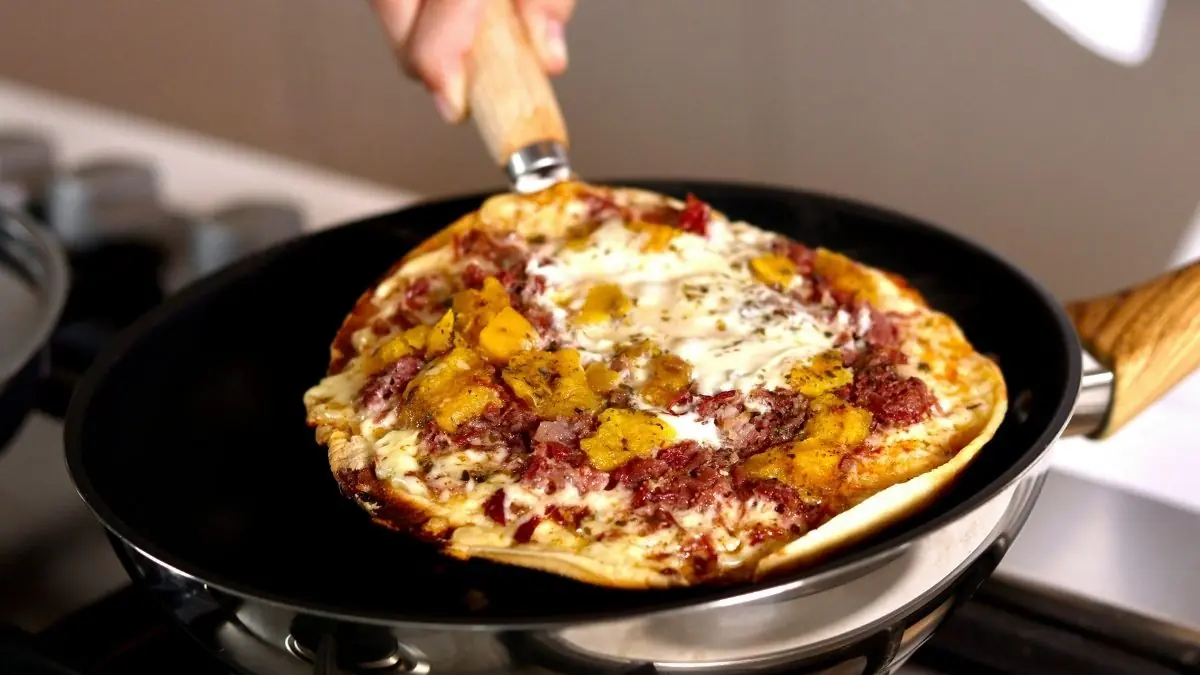
Step 6: Cover And Melt
This is the moment young adults and grown-ups all wait for. Take the pizza and gently place it on the pan. Cover it with a lid and watch as the cheese slowly melts to an even golden-brown, the pizza base turns light brown and the sauce begins to sizzle. This time, keep the heat as low as possible to avoid burning or overbrowning. Let the pizza cook for about 5-7 minutes so the cheese melts evenly. If too much condensation starts to build-up on the underside of the lid, simply wipe it off with a kitchen cloth otherwise the pizza might become soggy.
Step 7: Finish Like A Pro
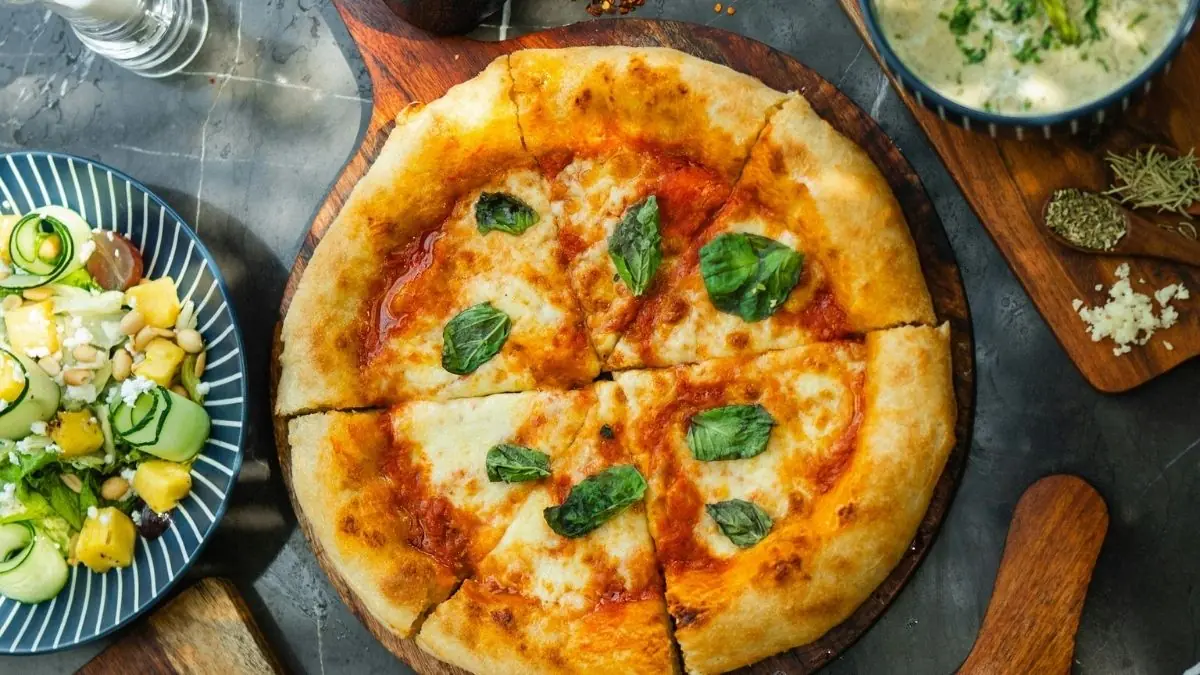
For that restaurant-style finish, take this finished pizza off the pan and drizzle some olive oil over it. Follow this up with a sprinkling of oregano and chilli flakes, if required. Slide the pizza onto a pizza board and slice it up. Serve the pizza hot so the melted cheese can be indulged in thoroughly.
… and of course, never forget that the stove is still on! It’s time to head back into the kitchen and bring out more of these delectable, stylishly done homemade pizzas.