How To Make Paneer At Home: A Step-by-Step Guide For Beginners
How To Make Paneer At Home: A Step-by-Step Guide For Beginners


Are you a home cook who has recently started honing essential kitchen skills? Learning how to make paneer is a necessary technique that can be mastered with just a little bit of practice. Homemade paneer makes it easier for you to prepare salads, curries, tikkas and scores of other recipes with great ease and efficiency.
For the first-time home cook trying to master different essential kitchen basics, making paneer can seem like quite a daunting task. However, it is actually quite a straightforward process and learning how to make paneer at home can make every day cooking quite simpler. That’s because a ready availability of paneer means it can be used to make a plethora of recipes like curries, stir-frys, sandwiches and tossed salads at a moment’s notice. Tikkas, pakoras and other paneer-based appetisers can be made just as easily when a steady stock of homemade paneer is available in the fridge. For the novice, making paneer can become a fun activity to master, that makes you feel quite good about yourself, because with just a little bit of practice, you will be easily able to craft a block of the protein that can be sliced, crumbled or cut into cubes as required.
Step 1: Boil The Milk
The process of making paneer essentially involves splitting and curdling the milk so little dairy crumbs are formed that can be shaped into a block or a wheel, as per your choice. This begins with bringing the milk to a boiling point.
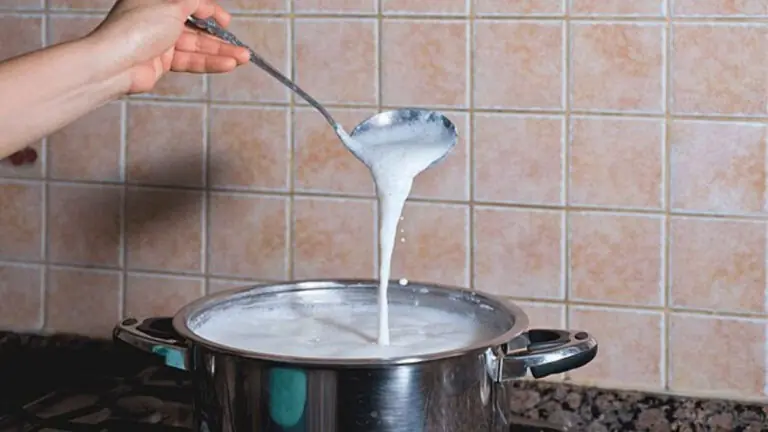
So to start making paneer from scratch at home, the first step is to boil milk. Use a saucepan or a large heating pot for this, depending on the quantity of milk being used to make paneer. Home cooks generally recommend using cow’s milk or full-fat milk to extract paneer as it yields more volume. While boiling the milk, stir it from time to time to ensure it isn’t sticking to the bottom of the vessel. Keep the heat on the induction or gas stove being used on low to medium. Making paneer requires patience as milk boils, but the results are always quite stunning.
Step 2: Add The Acidic Ingredient
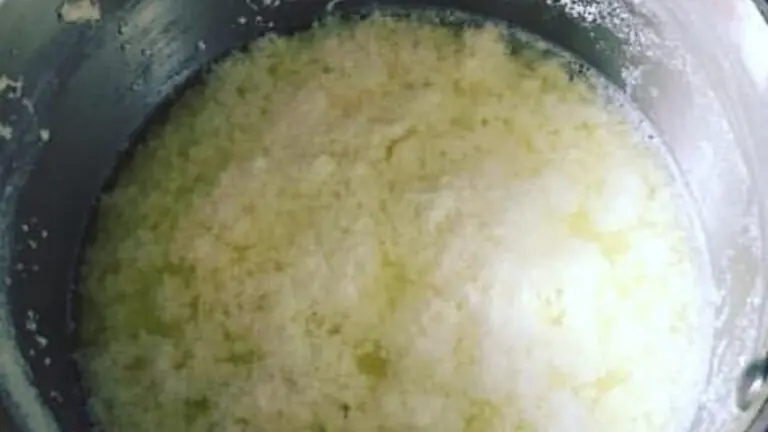
This is where precision steps in, during the whole paneer-making process. What curdles the boiled milk to make the solids is an acidic ingredient such as lemon juice or vinegar. Use either ingredient of your choosing and pour it into the milk just as it boils enough to raise itself to the very edges of the pan’s surface.
As soon as the acidic agent is added, the milk will recede into the pan. It will break gently and milk solids and the residual whey water will be separated. Switch the flame off after adding lemon juice or vinegar. Stir gently as the separation unfolds. This is when the paneer starts to form.
As a new cook learning how to make paneer at home, get into the habit of using the acidic catalyst in precise proportions. Lemon juice quantities and acidic strength might vary as the fruit size changes so measure it in tablespoons or millilitres for precision. Alternatively, simply use rice vinegar and observe how much is required to adequately separate milk, per litre.
Step 3: Strain The Curds
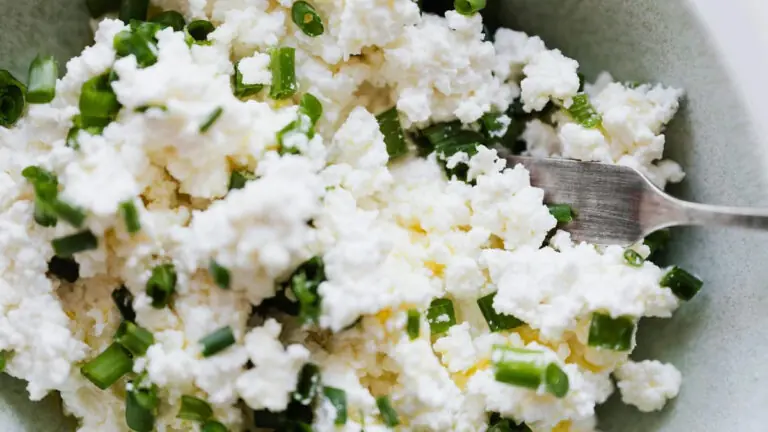
Once the milk is fully curdled, the whey water will turn slightly greenish and the crumbled paneer will float in the heating pan, pot or kadai. Now, take a strainer or colander and place a muslin cloth over it. Pour the split milk onto the muslin and drain the water from it. The curds will all collect in the muslin as the water drains away.
As you learn how to make paneer, also master how much water to drain out. The paneer is strained warm, so avoid pressing the muslin too hard for draining water as this can make the paneer dry. A simple hack is to make a little pouch by grabbing the ends of the muslin together. Run this little knotted bundle under cold water for a few seconds and with your hand, gently squeeze excess water out of the cloth. This step gets rid of the vinegary or lemony taste and allows the paneer to cool slightly.
Step 4: Shape And Press
This is perhaps the most artsy element involved in mastering how to make paneer at home. Invert the colander or strainer used earlier for draining the curds and place this onto a plate. Now, place the paneer pouch on the inverted surface so it rests there without tumbling down. Wrap the extra muslin cloth around this in little coils. Place a heavy weight like a pan or a mortar and pestle on top of the paneer. This will drain all residual water from the paneer and lend it a firm shape.
Slightly mould the curds into a round or a square block with your hand before placing the weights, to get the desired shape. Let the paneer rest this way for about 30 minutes to an hour.
Step 5: Uncover And Store
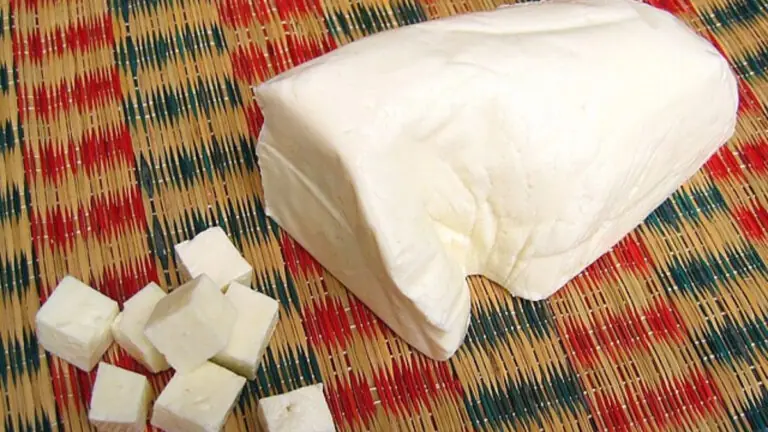
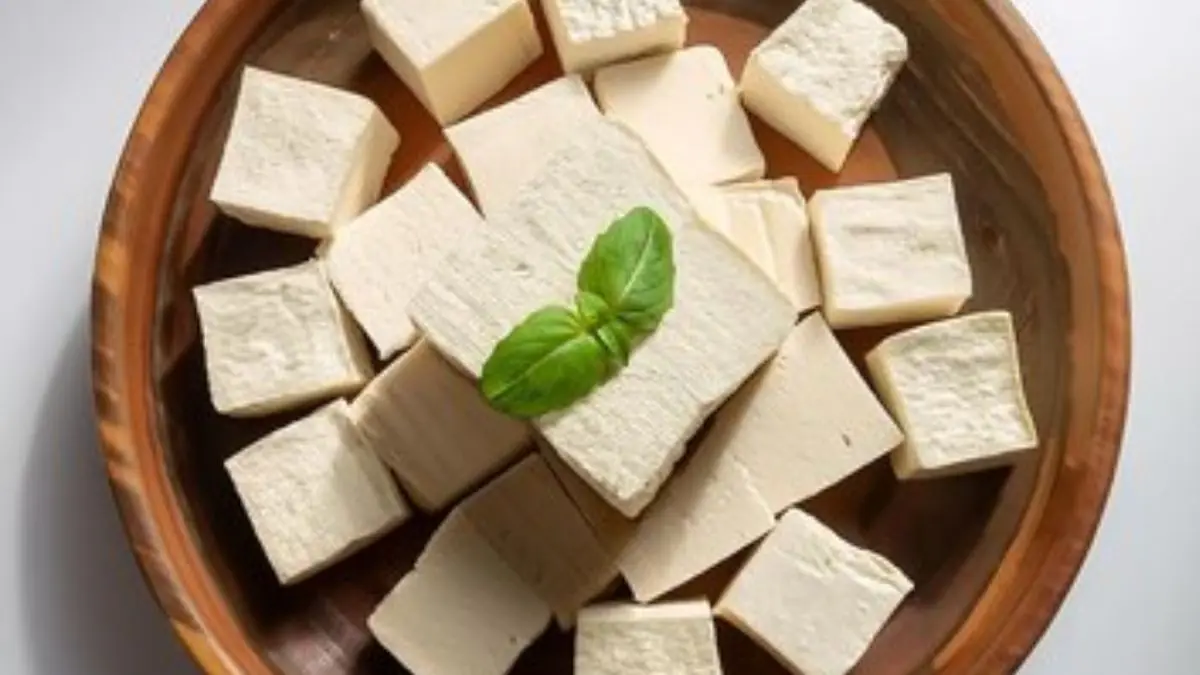
Now, the paneer is ready. However, storing it correctly is an important step in mastering the technique of making homemade paneer. Remove the weights from the muslin and uncover the paneer. It will be firm yet quite creamy and soft.
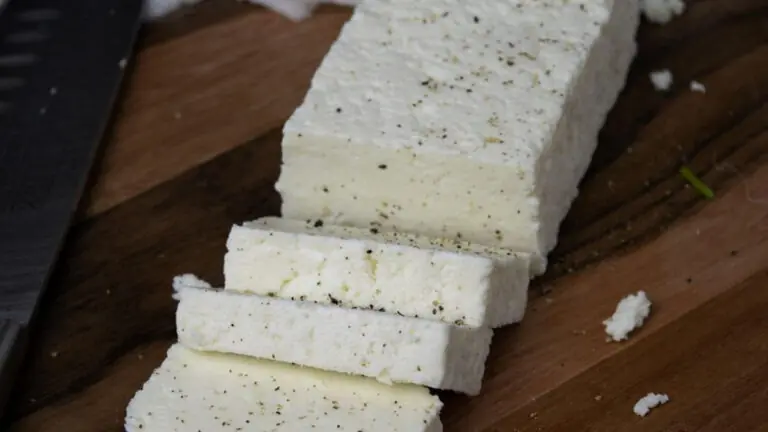
Store the paneer in an airtight container with a little bit of water to prevent it from drying out. As you learn how to make paneer, also master storage tips to make it last longer. If you plan on using paneer cubes, now would be a good moment to slice them and store the cubed pieces until it is time to add them to a gravy or curry. Fresh, homemade paneer can thus be kept in the fridge and brought out whenever required to make an assortment of recipes.
Extra Tips And Hacks
While learning how to make paneer at home, remember to:
– Avoid cooking after curdling. This will hamper the paneer’s texture.
– Press as required. Less pressing makes a softer, crumblier paneer. Longer pressing makes the paneer firmer.
– Always keep the paneer submerged in water for lasting freshness and use it within 2-3 days.