Rescue Your Milk: How To Make Paneer From Spoiled Milk
Rescue Your Milk: How To Make Paneer From Spoiled Milk


The sight of milk beginning to clump inside a carton is often enough to make most people reach for the kitchen sink with a sigh of annoyance. However, for a budget conscious homemaker who prioritises a zero waste lifestyle, this is not a moment of waste but a moment of opportunity. In a household where every ingredient is respected and every penny is accounted for, the sudden souring of a litre of milk is viewed as the first step in an effortless cheesemaking process. By understanding the simple biology of dairy, a thrifty cook can transform what appears to be a household loss into a valuable source of protein. This transition from liquid to solid paneer is a classic kitchen rescue act that saves money, reduces food waste, and provides a fresh, homemade ingredient for the family table. It represents a shift in mindset where one no longer sees a spoiled product but rather a raw material for a different culinary purpose.
The Importance Of The Initial Assessment
The first step in this rescue mission is a careful evaluation of the milk to ensure it is safe for human consumption. The homemaker relies on a keen sense of smell and sight to distinguish between milk that has naturally soured and milk that has been contaminated by dangerous pathogens. If the milk has a sharp, acidic, or yogurty scent, it is typically perfect for making paneer. However, if the smell is putrid or if there are any signs of unusual colours like pink or green mould on the surface, the homemaker knows the milk must be discarded immediately. A slightly bitter taste or a slimy texture is also a clear signal that the milk has gone beyond the point of redemption. By being discerning at this stage, the cook ensures that the goal of saving money never comes at the expense of family health. This assessment is the foundation of a safe and successful zero waste kitchen.
Heating And Adding The Acidic Catalyst
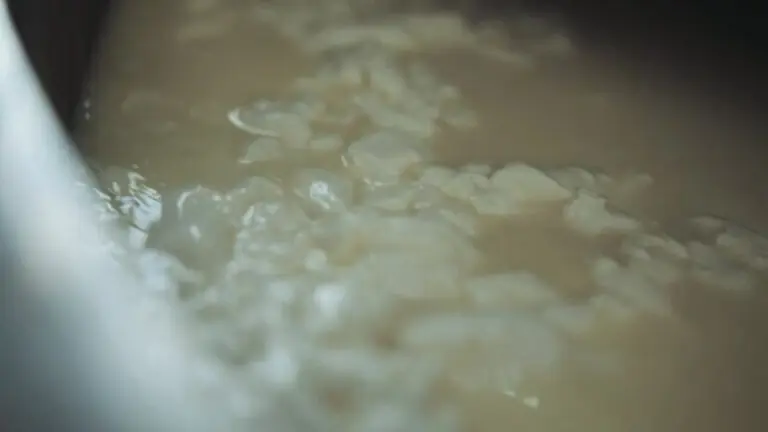
Once the milk has passed the safety check, it is poured into a thick bottomed stainless steel pot to begin the transformation. You may avoid using reactive metals like aluminium, which can sometimes leach a metallic taste into the cheese when combined with the acidity of the milk. As the liquid is heated slowly over a medium flame, the cook stirs it occasionally to prevent any scorching at the base of the pan. When the milk reaches a gentle, rolling boil, the natural acids already present from the souring process will begin to work their magic. To ensure a complete and clean separation of the solids and liquids, you can add a small amount of an additional acidic agent, such as fresh lemon juice or white vinegar. This part of the process requires patience and a gentle hand. Adding the acid too quickly can result in a tough or rubbery texture, so it is drizzled in gradually until the cloudy milk transforms into distinct white curds floating in a clear, yellowish liquid.
Rinsing And Cleaning The Fresh Curds
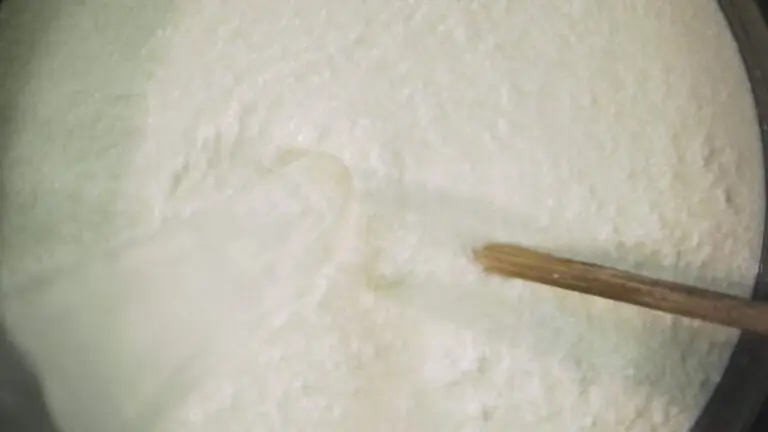
After the milk has fully curdled and the solids have separated from the liquid, you can prepare to capture the results. A large bowl is placed under a colander lined with a clean muslin cloth or a fine cotton tea towel that has been reserved for kitchen use. The mixture is poured through the cloth, allowing the liquid whey to collect in the bowl below while the snowy white curds are trapped in the fabric. Because the milk was originally sour and extra acid was added to aid the curdling, the cheese may carry a tangy or vinegary flavour that is not always desirable. To produce a mild and creamy paneer, you rinse the curds thoroughly under a cold tap. The cool water is allowed to run through the cloth as the cook gently stirs the curds with a spoon. This rinsing process is essential for removing the residual sourness and cooling the protein, which helps to keep the final texture soft and pleasant rather than hard.
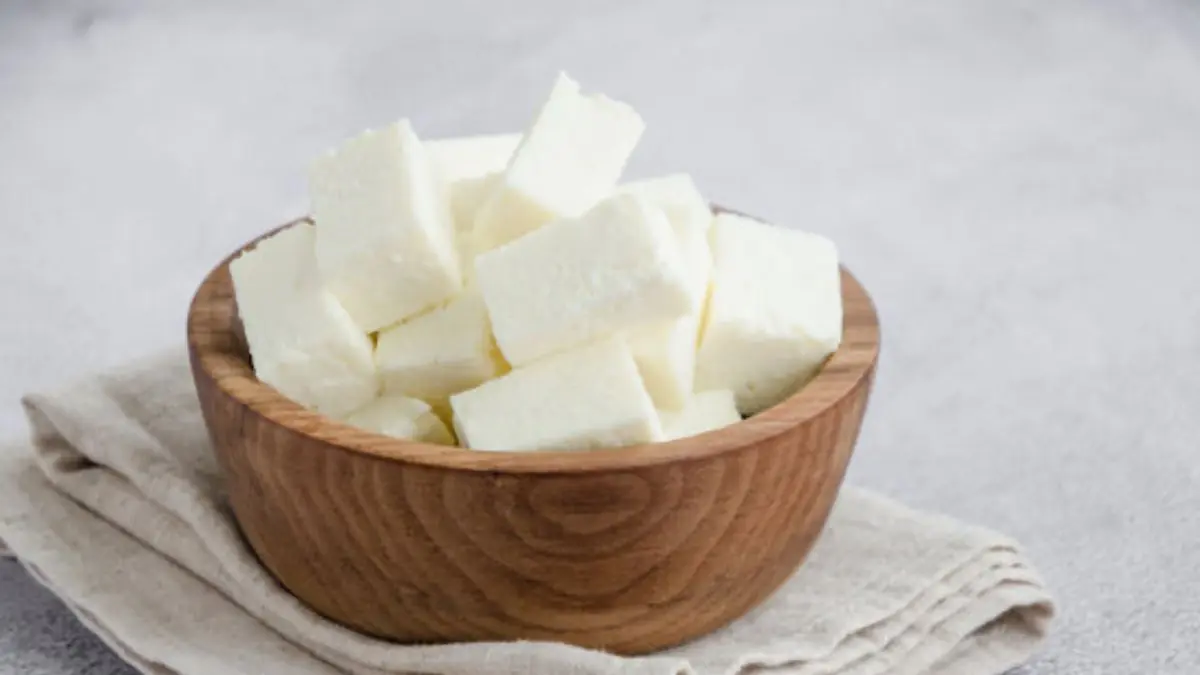
Pressing The Cheese For Solid Results
The way you treat the curds at this stage determines the final use of the cheese in the weekly meal plan. If the plan is to make a crumbled dish like a scrambled cheese stir fry, the cloth is simply squeezed and hung over the sink for a short while to drain. However, for a firm block that can be sliced into cubes for a hearty curry, you use the weight of the pantry. The cloth is folded over the curds to form a neat, flat square, and a heavy weight is placed on top. This might be a heavy stone mortar, a cast iron skillet, or even a stack of heavy tinned goods. By pressing the cheese for at least an hour, you force out the remaining moisture, allowing the proteins to knit together into a solid and sliceable mass. This homemade block is often superior to shop bought versions, as it contains no preservatives or stabilisers and possesses a much fresher flavour profile.

Repurposing The Nutrient Rich Whey
In a truly zero waste kitchen, the process does not end with the creation of the cheese. You look at the bowl of liquid whey and see a valuable resource rather than a byproduct to be discarded down the drain. This yellowish liquid is incredibly rich in minerals and protein, making it a perfect addition to many other recipes throughout the week. The thrifty cook often uses the cooled whey instead of water when kneading dough for flatbreads or homemade loaves, which results in an exceptionally soft and nutritious crumb. It can also be used as a base for vegetable soups, added to lentils to provide a subtle depth of flavour, or used to soak grains overnight to aid digestion. Even the garden can benefit from this process, as a diluted mixture of whey provides a calcium boost to tomato plants and other vegetables. By the time every element of the soured milk has been utilised, you have successfully turned a potential household waste into multiple high quality ingredients.


