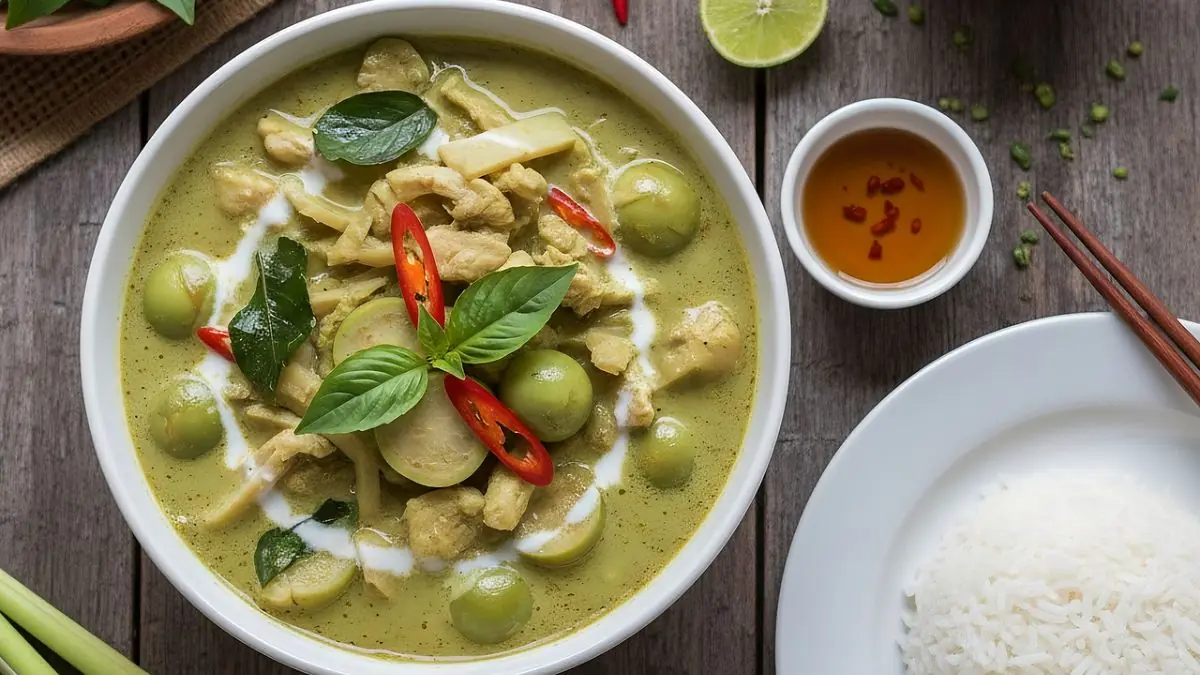
Making green Thai curry at home hardly has to be a cumbersome affair anymore. A delicious, aromatic and vibrantly green Thai curry served with steamed rice can be assembled as a one-pot flavour-packed meal by following just a few easy steps.
Fragrant, creamy and gently spicy, this Thai green curry recipe has all the makings of a delicious, comforting dinner enjoyed after a particularly busy working day. The green curry, laced with chilli paste and herbs like kaffir and basil leaves, cooks the rice in its own coconut milk-infused gravy, making it a meal that is quite simple to prepare.
When you have basic Thai curry staples at home, returning to the kitchen after a long working day can turn into a fun activity with a Thai curry and rice meal that rejuvenates the spirit. Think of it as a reset meal that is straightforward enough to make, yet filled with a rich and layered complexity.
Tips and Tricks
1 Make the one-pot meal in a heavy-bottomed kadai to prevent the curry and rice mixture from sticking to its surface. A non-stick kadai with a glass lid can be useful for this purpose.
2 Alternatively, toss all ingredients in a pan before adding them with the vegetable stock and coconut milk to a hard anodised pressure cooker which will steam the rice and vegetables perfectly.
3 To stir-fry the vegetables while using the pressure cooker method, go for the cast-iron fry pan which will semi-cook all the ingredients evenly.
4 If using homemade coconut milk rather than the store-bought version, the easiest way to extract it is using a mixer grinder. Go for a premium mixer grinder which will yield creamy coconut milk quickly and with minimum effort.