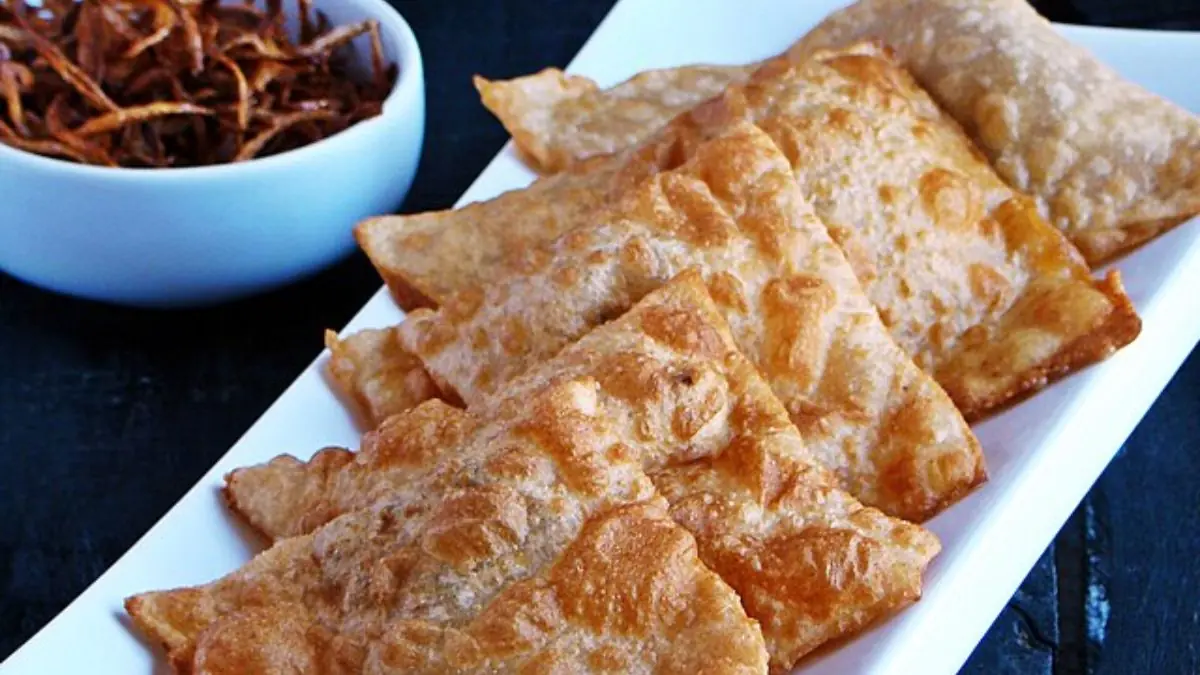
What comes to your mind when you think of a deep-fried dough stuffed with a spicy filling? It is nothing but a samosa. Samosas have been ruling our hearts for ages, be it any normal day or a special occasion. Everyone in India knows what a samosa is, but have you ever thought about what could be Hyderabad’s take on a samosa? Well, the answer is Lukhmi. The most relished during Ramadan, it is a crisp biscuit covering filled with spicy minced mutton, making for a great snack not only for a festival but for day-to-day life too. The word Lukhmi is derived from the Urdu word ‘Luqmi’, which means a small bite.
Hence, these snacks make for the best Lukhmi, for they can be relished in one bite owing to their size. For thousands of years, the whole idea of a patty was infused into the liking of regional taste and the invention of minced meat Lukhmi was born. Since the making of keema was already a famous process, slowly, some genius chefs decided to replace the usual filling of potatoes
What comes to your mind when you think of a deep-fried dough stuffed with a spicy filling? It is nothing but a samosa. Samosas have been ruling our hearts for ages, be it any normal day or a special occasion. Everyone in India knows what a samosa is, but have you ever thought about what could be Hyderabad’s take on a samosa? Well, the answer is Lukhmi. The most relished during Ramadan, it is a crisp biscuit covering filled with spicy minced mutton, making for a great snack not only for a festival but for day-to-day life too. The word Lukhmi is derived from the Urdu word ‘Luqmi’, which means a small bite.
Hence, these snacks make for the best Lukhmi, for they can be relished in one bite owing to their size. For thousands of years, the whole idea of a patty was infused into the liking of regional taste and the invention of minced meat Lukhmi was born. Since the making of keema was already a famous process, slowly, some genius chefs decided to replace the usual filling of potatoes in samosa with keema. At the same time, the introduction of patties, which came with the same filling as samosa, was taken into a new stride, and the potato filling was replaced with keema.
Preparing this dish might sound like a bit of a task at first, but it is really very simple and worth it in the end. You can make these Lukhmis whenever you feel like it and eat them for days. You can also share it with your friends and loved ones if they’ve also wanted to try something new. Be it a festival or not, there can be no set time for enjoying these fluffy, crisp savoury pastries. One can adjust the spiciness of the filling to make it appealing to the taste buds, but there can be no saying no to these heavenly bites.