Notifications x
X
History
all results for ""

Neer Dosa Recipe From The Coastal Kitchens of Karnataka

Verification badge
share

Do you want to make the Karnataka staple in your kitchen, but are too intimidated by its texture? Don’t worry! If you think it’ll be hard to nail the paper-thin consistency, all you need to do is follow these fairly simple steps and enjoy the South Indian neer dosa at home.

prep time 00 Hour 45 Mins
cook time 00 Hour 30 Mins
chef Garima Johar

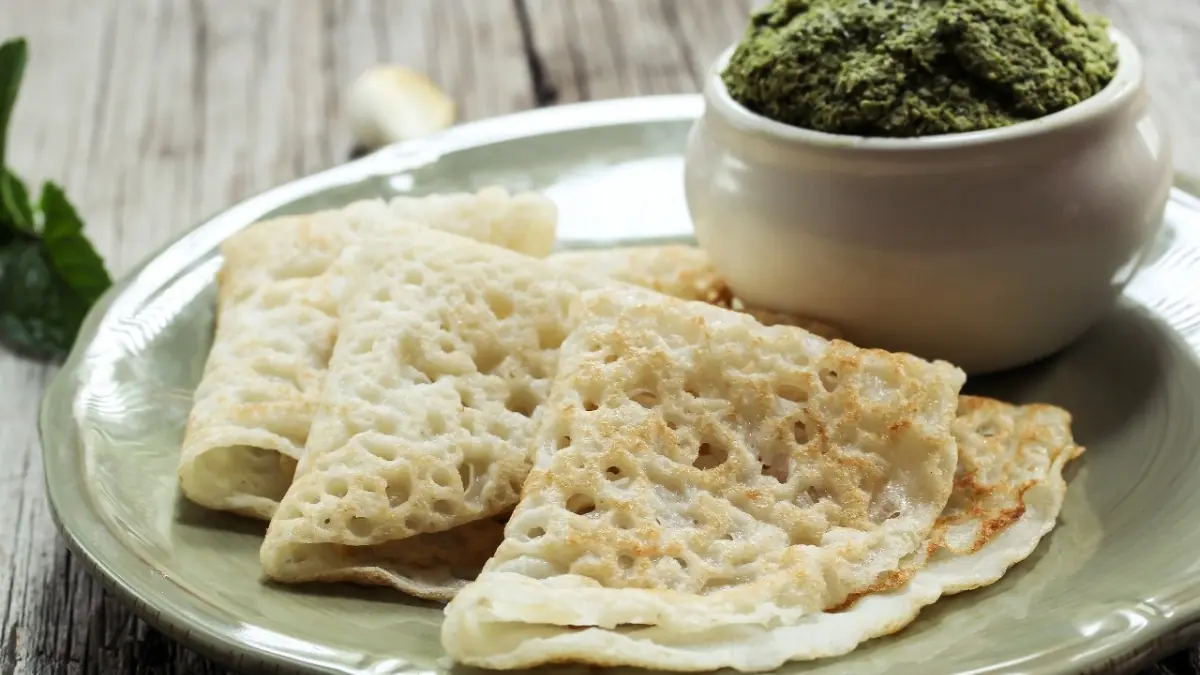
Neer dosa is a culinary jewel that comes from the coastal belt of Karnataka. The word ‘neer’ translates to ‘water,’ which perfectly describes the runny consistency of the batter used to make the dosa. With the watery consistency, the dosa has a distinct, paper-thin, delicate, and soft texture. 

Another thing that distinguishes neer dosa from the other South Indian staples is that it is not made with fermented rice. All you need is to soak the rice overnight in water, blend it with some more water, and your batter will be ready.

Since it’s made with minimal ingredients, neer dosa is impeccable for people facing digestive distress. Being soft, light, and easy to digest, neer dosa can be the perfect breakfast, brunch, or even a light dinner option. 

And even though you think the white-coloured dosa, with its holes, is difficult to make, this recipe makes the process pretty straightforward. This guide not only covers the step-by-step recipe of the Karanaraka staple, but also co

Read More
Step 0

Start by washing the rice under running water till the water is clear. Once rinsed, soak the rice overnight or for at least four to five hours. This will help you get a softer texture for dosas.

Step 2

Drain the soaked rice and transfer it to a blender. Add one and a half cups of water and blend till you get a smooth paste. Make sure the paste does not have any remaining grains.

Step 3

Pour the paste into a bowl and mix in the remaining one and a half cups of water and salt. Mix well till you get a very thin and watery consistency, pretty much like buttermilk. If it’s on the thicker end, feel free to add some more water till it has a pourable consistency. 

Step 4

Heat an iron-tawa or a non-stick pan on a medium flame. Once hot, grease it with a teaspoon of oil. You can rub a half-cut onion to spread the oil.

Step 5

Stir the dosa batter and pour a ladleful of the batter from a little height. Spread the batter in a circle, starting from the centre to the perimeter of the tawa. You’ll see the batter spreading quickly, leaving some holes in the dosa.

Step 6

Once the tawa is covered, let the neer dosa cook for about a minute or two. Unlike other dosas, you don’t need to flip the Neer dosa; it cooks on one side only. You can cover the tawa with a lid to cook it faster by trapping the steam.

Step 7

When you spot the edges of the dosa lifting from the tawa, the dosa is ready to be transferred to a plate.

Step 8

Fold the dosa into a triangle and transfer it to a plate. Repeat the same process for the remaining batter to make more dosas.

Step 9

Serve the neer dosas with nariyal ki chutney, sambar, or a coastal-style vegetable curry.

Tips and Tricks

1 It is recommended that you use short-grain rice like sona masuri or idli rice to make a smooth batter. This also helps to make neer dosa gluten-free, perfect for people with allergies.

2 Don’t parboil the rice, just soak it overnight to get the soft texture of a traditional neer dosa.

3 Before pouring a ladle of the batter, make sure the tawa is medium hot. If it is too hot, the batter won’t spread, and if the temperature is too cold, the batter will stick to the tawa.

4 Always pour the batter from a height in a circular motion, starting from the edge, moving inwards. It will help the batter to spread on its own without you having to spread it outwards later on.

5 Once you see a neer dosa’s distinct holes, allow it to cool for half a second. Then, you can fold or roll it as you prefer.

Frequently Asked Questions

If your dosa sticks to the pan, it is usually for two reasons. Either you have not greased the tawa properly, or the skillet’s temperature wasn’t hot enough.

No, it is optional to add the grated coconut to the batter. But it is always recommended as the coconut adds a subtle sweetness and a rich flavour profile to the neer dosa.

The cracking and breaking of a neer dosa is a common issue that usually happens because of the consistency of the batter. When it’s too thick, the dosa will become denser, making it easier to crack. On the other hand, if the consistency is too runny, handling it on a tawa can get difficult, making the dosa break. So, adjust the batter with water or rice flour before cooking, depending on the case.

Prestige Must-haves