Step-by-Step Guide To Cleaning Gas Stove Burners, Without Chemicals
Step-by-Step Guide To Cleaning Gas Stove Burners, Without Chemicals
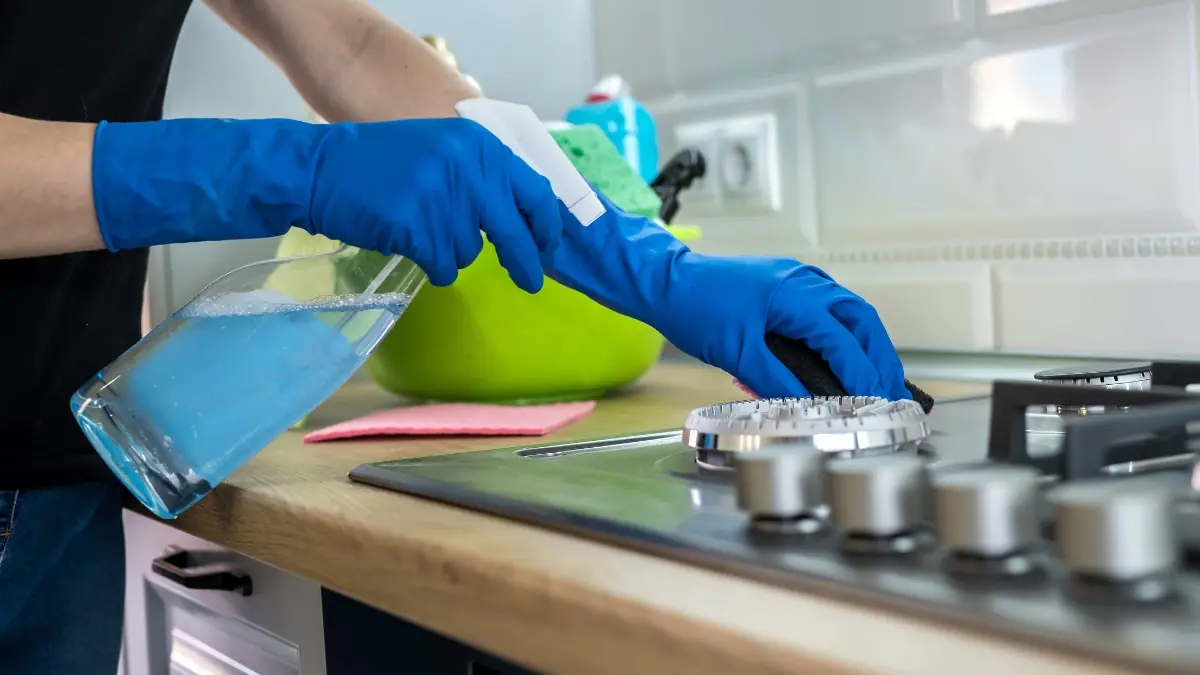


Who said you’d require chemical cleaners or fancy equipment to clean the spills, grease, or food debris from the gas stove burners? With just some daily kitchen ingredients and a little time and effort, here’s how you can clean the gas stove burners.
Taking the centre stage of the kitchen, your gas stove silently prepares all the food while your kitchen gets aromatic. Even though you must be wiping the stovetop every day, the food debris might get deposited on the gas stove burners, turning the blue flame yellow-orange. So, whether your stove burners are greasy or covered in food particles, this is your sign to spend some time cleaning to get the best results.
While harsh chemical cleaners might seem like the quickest fix, they can be abrasive, release fumes, and aren’t always the safest option for your home or for the environment. But don’t worry, as there’s hardly anything a combination of natural ingredients can’t fix. To make your gas stove look spotless, here is a step-by-step guide, of course, in a chemical-free way.
Why Should You Opt For Natural Cleaners?
Before you opt for natural cleaners made with simple kitchen ingredients, you might want to know why that’s essential. Here are some pointers to help you understand why abrasive chemical cleaners might not be a good choice for your kitchen.
- The chemical cleaners have a strong smell, which can release fumes that can cause irritation in your throat.
- With natural cleaners, you would not have to worry about damaging the shiny finish of your expensive stovetop.
- Since you’d be making cleaners out of kitchen ingredients, you can save a lot of money.
- You’ll never know the chemicals used in the store-bought cleaners, making it a harmful choice to use them on your gas stove.
Steps To Clean Your Gas Stove Burners Without Any Chemicals
Disassemble The Parts
Before you start the cleaning process, the first step is to let the gas stove cool down if you were using it earlier. Once the stove is cool, turn off the gas supply to avoid any accidental gas leaks. Then, disassemble the parts like the grates of the burner, caps, and circular discs, etc. Also, while removing the parts, familiarise yourself with the right setup to be able to reassemble the gas stove properly. You can also take a picture of the parts and achieve the correct setup while reassembling everything.
Presoak In Soapy Water
Before you prepare cleaners with natural ingredients, presoak the removable parts you just took out in soapy water. You can make the solution by adding kitchen detergent (that’s safe for utensils) to water. As a bonus tip, you can use warm water for faster and more efficient cleaning. Then, just let the parts soak in the soapy solution for a minimum of thirty minutes. Next, you can start by wiping the gas stove and burner heads with the same soapy water using a cloth or brush.
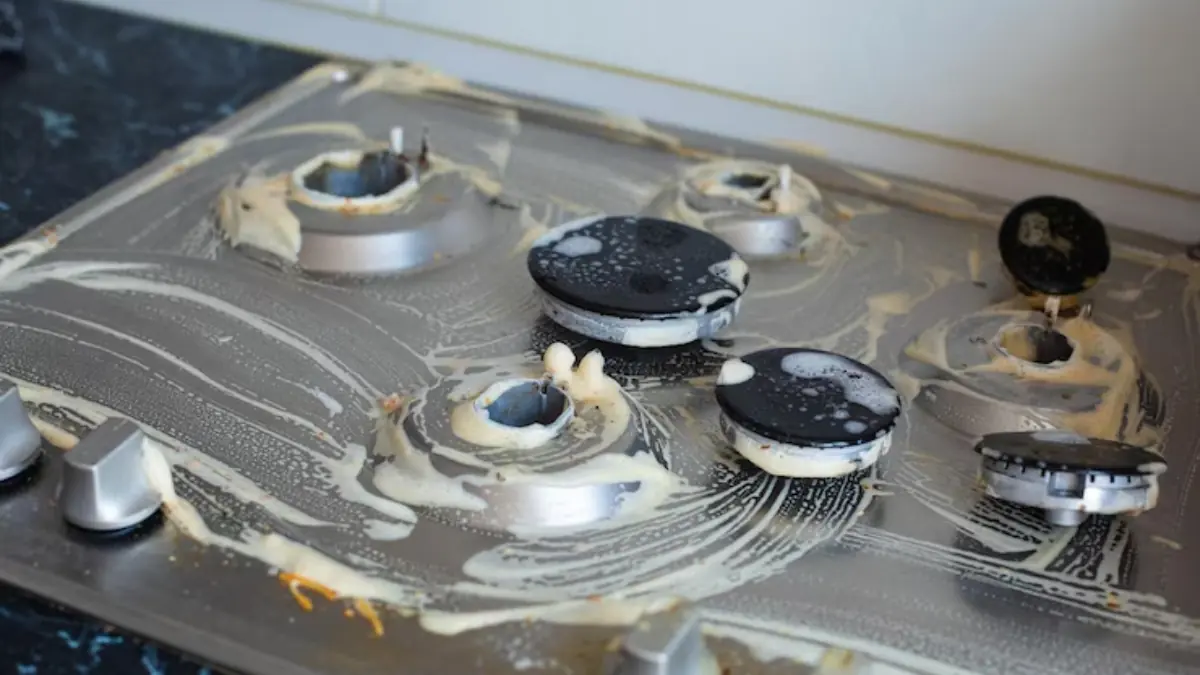
Apply Baking Soda

To get to the food debris and charred remains on the burners, you can prepare a paste using baking soda and a little water. Once you get a thick paste with a consistency similar to that of a toothpaste, you can apply it to the burner heads and the dirty spots on the stove. You can then let the baking soda do its magic, and in about fifteen to twenty minutes, you can see the burnt food particles lifting off, making it easier to clean the surface.
Spray Vinegar
While you wait for the baking soda paste to work, you can make the most of the acidic vinegar. Thanks to the presence of acetic acid, you can spray some white vinegar onto the baking soda-covered gas stove and the removable parts. The fizzing reaction of the baking soda and vinegar will act as a strong cleansing agent and help you get rid of the grease.
Scrub Away
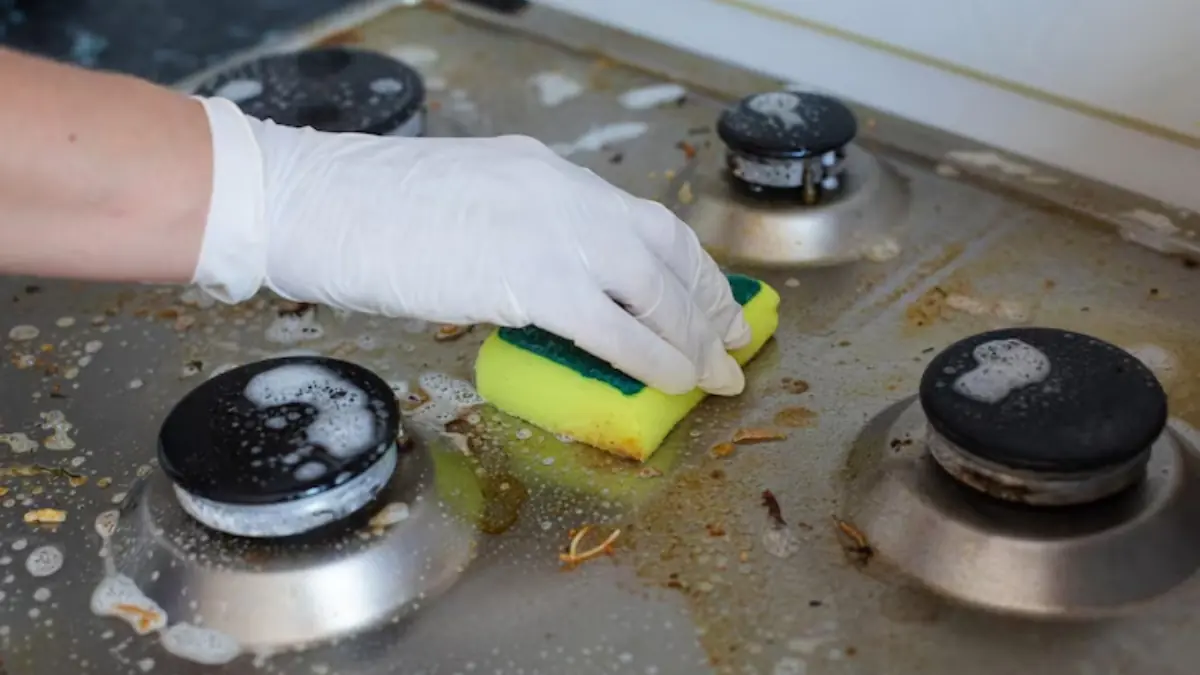
If you thought making the paste and spraying vinegar was the hard part, you were wrong. After the food particles and grease lift off, you’ll need to put in the manual work and scrub hard. You can take a small brush, a cloth or even a toothbrush to reach the smaller parts and scrape the paste off the gas stove and burners. Just remember not to use any metal scrubbers as they can damage the finish of the stove or even clog the holes of the burner.
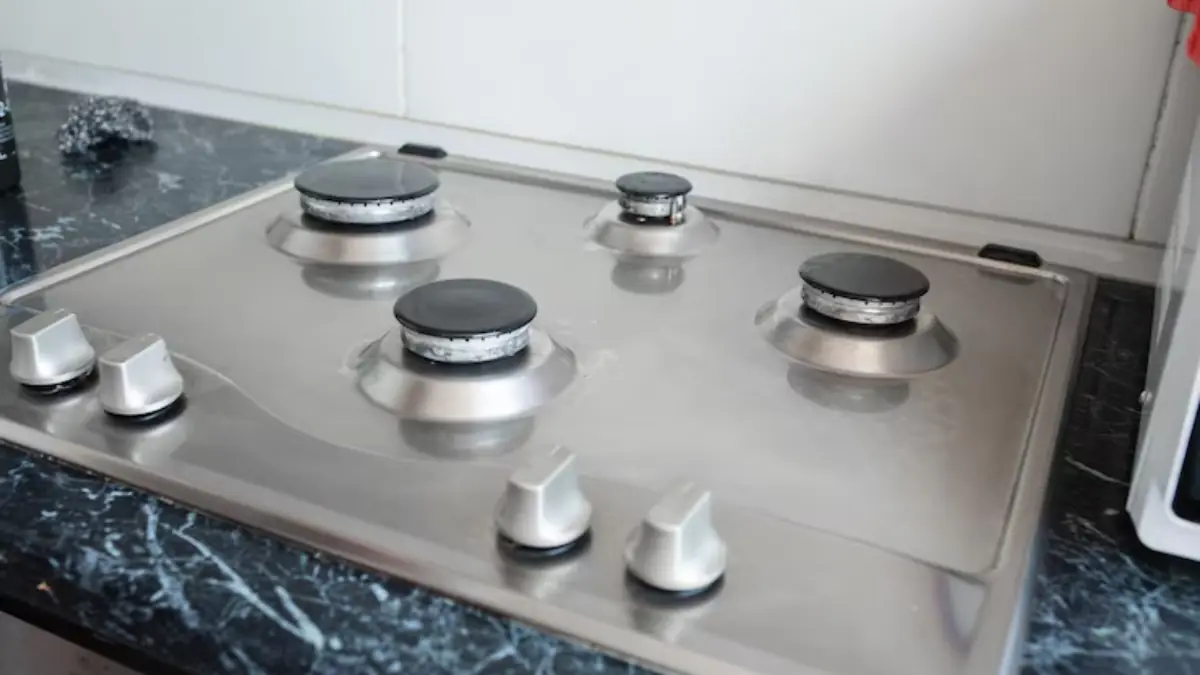
Rinse Thoroughly
Finally, after scrubbing the soapy water, baking soda, and vinegar, rinse all the parts under running water. Since the leftover baking soda can create a white film after drying, make sure you rinse immediately after scrubbing. Shake the parts to remove the excess water and set them on a kitchen counter or a utensil drain.
Let The Parts Dry
The last step would be to let the stovetop and the removable parts dry after you’ve thoroughly rinsed them. You can use a dry cloth or tissue paper to wipe off any extra water. Once done, let the parts air dry for about half an hour. Don’t reassemble the parts even while they are damp, as the wet parts can lead to uneven ignition and even rusting. You can also heat the parts in an oven at the lowest temperature for about five to ten minutes before setting the gas stove.
Reassemble And Turn On The Supply
Once everything is dry, you can reassemble the parts onto the stove. Mindfully put the burners and grates in their original position. Fit the burner caps and ensure they are evenly sitting on the burners. Make sure everything is seated correctly before you turn off the gas supply. As a final step, turn on the heat and check if it’s working properly. If any of the burners doesn’t light or gives an irregular flame, it can be a sign that the cap is not fitted correctly, and you can check and fit it properly.