How To Make Modak Without A Mould: Easy Shaping Guide
How To Make Modak Without A Mould: Easy Shaping Guide
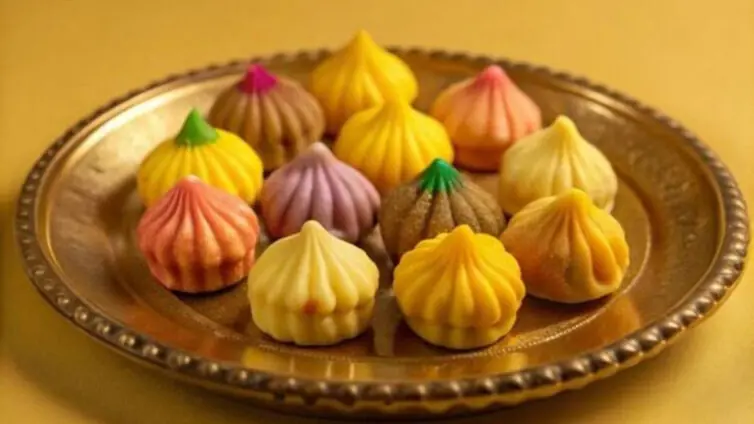


Mastering the art of shaping modaks by hand eliminates the need for plastic moulds and results in a much finer, delicate outer shell. Exploring the traditional pinching and pleating techniques reveals how a well-prepared rice flour dough and gentle finger movements create perfect steamed dumplings every time.
Preparing modaks at home often intimidates beginners, pushing many to rely on commercially available plastic moulds. While moulds offer quick uniformity, they typically produce thick outer shells that overpower the sweet coconut filling inside. Shaping these dumplings by hand is a traditional culinary skill that allows you to control the thickness of the dough perfectly. The process might seem highly complex at first glance, but it relies entirely on muscle memory and understanding the temperature of your dough. Once you master the basic technique of forming a dough cup and creating tiny pleats, you can produce beautifully handcrafted modaks that look remarkably elegant and taste far superior to their moulded counterparts. Moving away from shortcuts brings a deep sense of culinary satisfaction and connects you directly to the authentic, time-honoured methods of festival food preparation. The only real requirement is patience and a willingness to practise the hand movements until they feel completely natural.
Preparing The Perfect Pliable Dough

The absolute foundation of hand shaping is getting the rice flour dough exactly right. If the dough is too dry, it will crack instantly when folded, making it impossible to form neat pleats. You must boil water with a few drops of pure ghee and a small pinch of salt before slowly stirring in the fine rice flour. Bringing the water to a rapid, controlled boil in a Tri-Ply Base Kadai ensures the heat distributes perfectly, preventing the flour from clumping as you mix it into a rough paste. Covering the hot mixture with a tight lid and letting it rest off the heat allows the trapped steam to cook the rice flour gently. This crucial resting phase transforms the rough mixture into a soft, highly pliable base ready for kneading.
Kneading For Absolute Smoothness
The secret to a crack free outer shell lies in how thoroughly you knead the warm dough. You must begin working the dough while it is still quite hot to the touch. Since handling hot dough directly is difficult, using the flat base of a steel cup or bowl helps smash the rough paste into a cohesive mass. Once it cools just enough to handle, wetting your palms lightly with warm water or ghee prevents sticking while you knead the mixture vigorously. The goal is to achieve a completely smooth, elastic texture that resembles soft clay. A well kneaded dough ball should flatten between your palms without showing any jagged edges or dry cracks along the sides.
Creating The Thin Base Cup
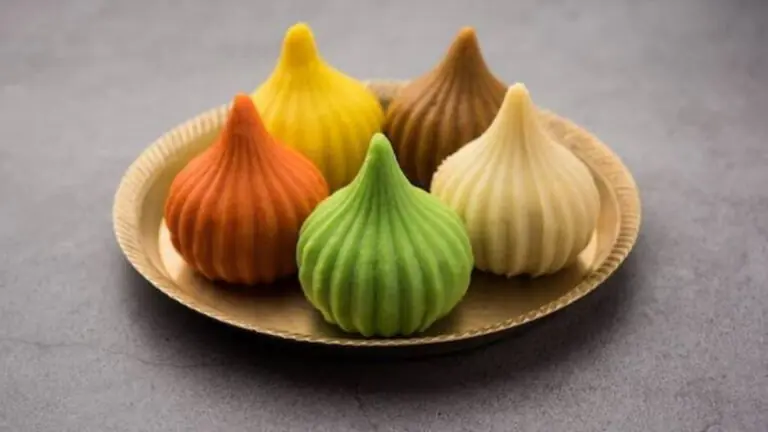
Shaping begins by taking a small portion of the smooth dough and rolling it into a perfectly round sphere. Pressing your thumb gently into the very centre of the sphere creates a small indentation. Using both thumbs on the inside and your index fingers on the outside, slowly press and rotate the dough to form a small, shallow cup. You must ensure the edges of the cup remain incredibly thin while keeping the bottom slightly thicker. A thick base provides necessary structural support, ensuring the heavy jaggery and coconut filling does not break through the bottom during the final steaming process. The thinner you can make the upper walls of the cup, the more refined your final dumpling will taste.
The Art Of Pinching And Pleating
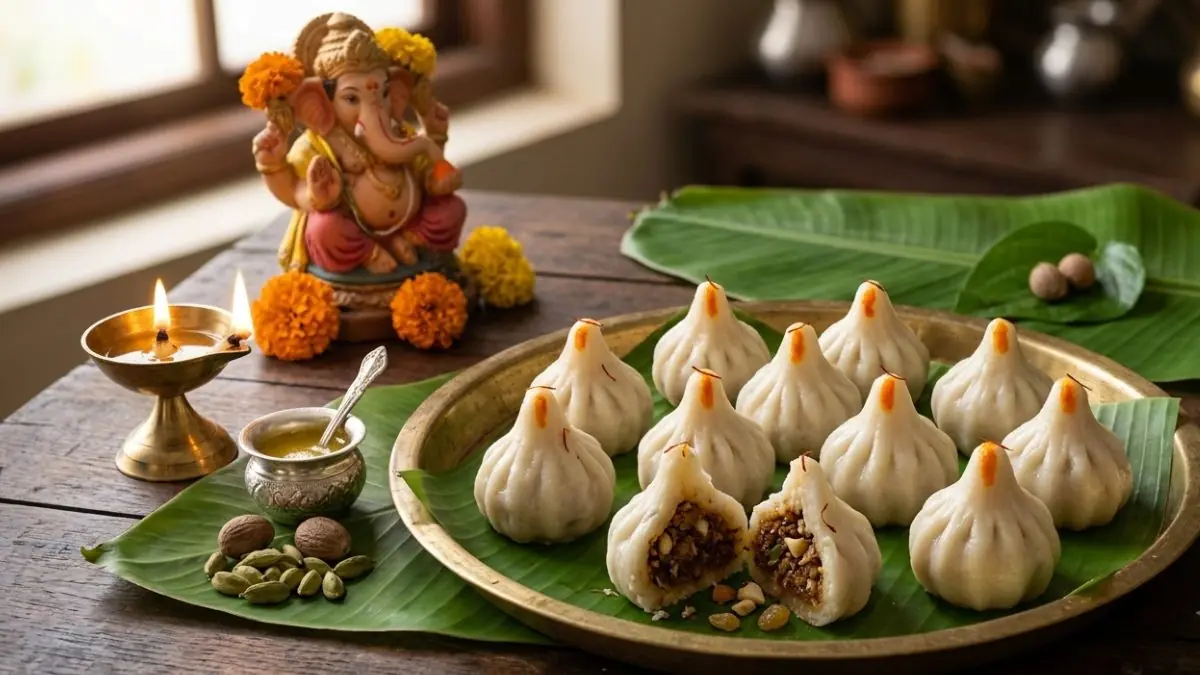
Creating the signature pleated folds is the most delicate part of the shaping process. Holding the dough cup lightly in your non dominant hand, use the thumb and index finger of your dominant hand to pinch the thin upper edges of the cup. You need to create small folds roughly a centimetre apart all the way around the circumference. Next, place a generous spoonful of your sweet filling directly into the centre of the pleated cup. Preparing a uniform filling is crucial here. Using an Electric Vegetable Chopper to blitz fresh coconut and roasted nuts ensures there are no large, sharp chunks to tear through your delicate rice dough. The filling should sit compactly in the centre without spilling over the pleated edges.
Sealing And Steaming The Dumpling
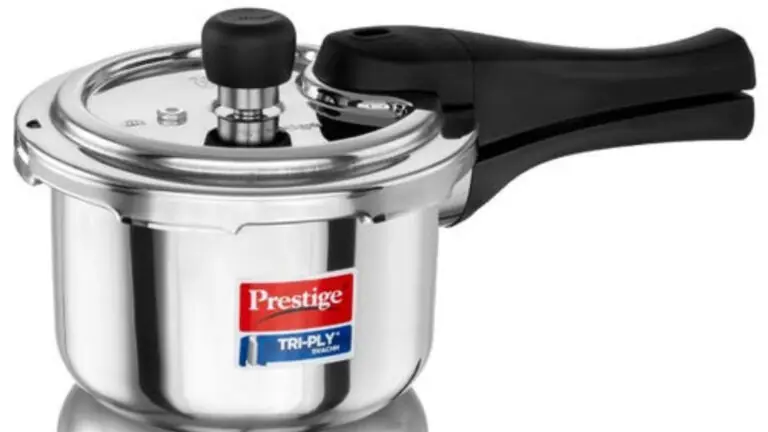
Bringing the pleated dumpling together requires a gentle, upward gathering motion. Placing the filled cup in the palm of one hand, use your other fingers to gently guide all the pinched folds toward the top centre. Press the tips of the pleats together firmly to seal the dumpling and create a neat, pointed peak. Once shaped, the dumplings must be steamed immediately so the dough does not dry out and split open. Arranging them carefully on a greased plate inside a Pressure Cooker allows the trapped steam to cook the outer shell perfectly without letting water pool at the bottom. After ten to twelve minutes of gentle steaming, the opaque white dough turns beautifully translucent, signalling that your handcrafted treats are ready to serve.