How To Make Soft Rotis On An Induction Cooktop: Guide For Beginners
How To Make Soft Rotis On An Induction Cooktop: Guide For Beginners
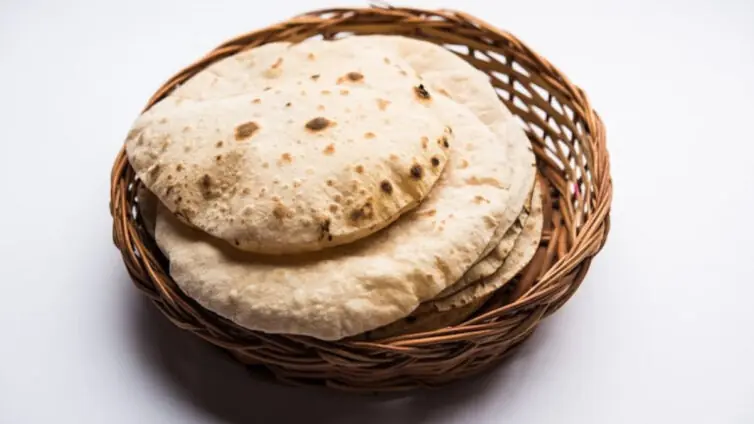


This comprehensive guide explains the exact techniques required to make soft and perfectly puffed flatbreads using a modern induction cooktop. It covers essential steps from choosing the right flour to managing flat surface heat without relying on an open gas flame.
Transitioning from a gas stove to a flat induction cooktop presents a learning curve when making traditional flatbreads. The lack of a visible flame makes it difficult to gauge exactly how much heat reaches the base of the pan. Many beginners struggle with dough that turns out hard, flat, or severely burnt because induction surfaces transfer heat intensely and rapidly. Creating soft and puffed flatbreads without an open flame is entirely possible once you understand magnetic heat distribution. The secret lies in mastering dough hydration and learning to manipulate digital temperature settings to mimic the rising and falling heat of a traditional fire. A thorough understanding of these basic principles allows home cooks to adapt older culinary practices to contemporary glass surfaces effortlessly.
The Science Of Induction Heating
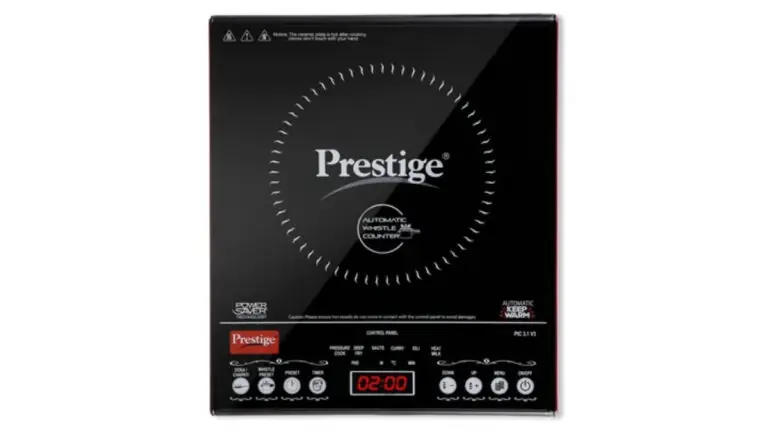
To master flatbreads on a glass surface, one must first understand how induction technology generates heat. Unlike standard electric stoves that use radiant coils, induction relies on electromagnetic fields located directly beneath the ceramic glass. When a compatible magnetic pan is placed on the cooking zone, the magnetic field creates internal friction within the metal of the pan itself. This friction causes the vessel to heat up almost instantly while the surrounding glass remains relatively cool. This rapid transfer means the cooking surface reacts to temperature adjustments in a fraction of a second. This immediacy requires full attention from the cook. Leaving a dry pan on high heat for even ten seconds too long can scorch the flour before the dough cooks through to the centre.
Selecting The Correct Griddle
A standard concave iron griddle works perfectly on a regular burner but fails completely on a flat glass surface. Induction cooking strictly requires a vessel with a perfectly flat base to maintain continuous contact with the magnetic sensor hidden beneath the glass. Investing in a heavy, flat bottomed cast iron tawa or a thick magnetic stainless steel griddle is essential for consistent results. Heavy metals absorb the intense magnetic energy and distribute it evenly across the entire flat surface. This even distribution prevents the creation of aggressive hot spots that can easily scorch delicate dough. Thin pans will warp under the rapid heat changes of an induction unit and yield flatbreads that cook unevenly.
Choosing The Right Flour
The type of flour you select plays a massive role in the final texture of the bread. Whole wheat flour varies significantly depending on how finely it is milled and the quality of the grain used. For the softest results, you should seek out stone ground whole wheat flour that retains its natural oils and bran. Supermarket flours that have been sitting on shelves for months often dry out completely, requiring far more water during the kneading process to become pliable. When purchasing flour, inspect the texture to ensure it feels slightly powdery rather than gritty. A finer mill creates a tighter network of gluten, which is essential for trapping the steam required to make the bread puff up like a balloon.
Kneading For Maximum Hydration
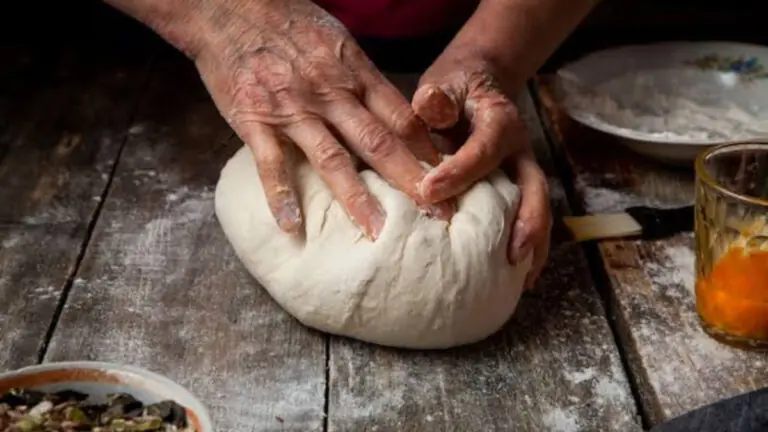
The foundation of a soft flatbread begins before the dough ever touches a hot surface. When cooking on an induction cooktop, the heat is drier and more direct than a traditional flame. Your dough needs to hold slightly more moisture to compensate for the rapid evaporation. Begin by gradually adding warm water to the finely milled whole wheat flour, bringing it together slowly until it forms a shaggy mass. Knead the mixture vigorously using your knuckles to develop the vital gluten structure until the dough feels smooth and highly elastic under your hands. Allowing the dough to rest under a damp cloth for at least thirty minutes is an absolute necessity. This resting period gives the flour enough time to absorb the water completely, ensuring the final flatbread remains perfectly pliable.
Portioning And Rolling Techniques
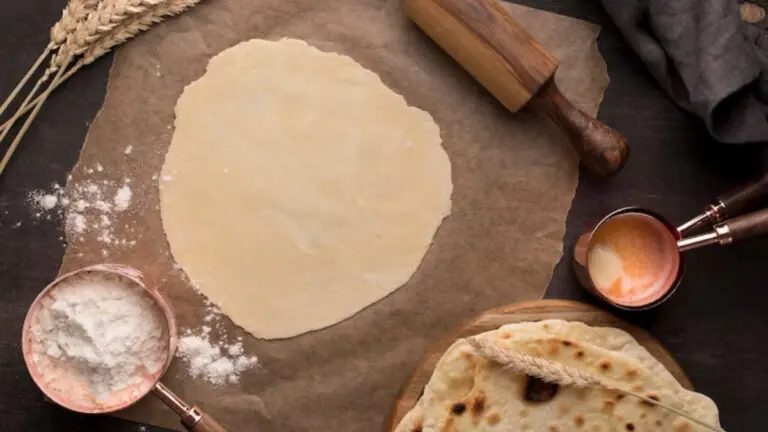
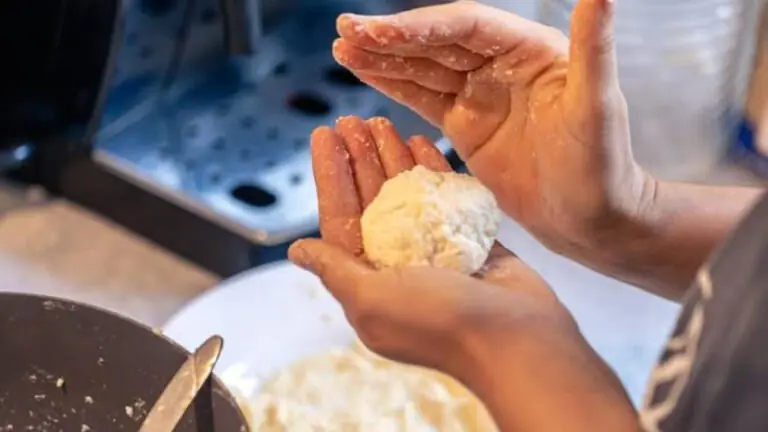
Proper rolling technique ensures that the bread cooks at an even rate across its entire surface. Pinch off a small portion of the rested dough and roll it between your palms into a smooth sphere. Flatten it evenly into a thin disc using a heavy wooden rolling pin. You must apply gentle, even pressure to ensure the edges are the exact same thickness as the centre. If the edges are too thick, they remain raw while the centre burns. Dusting the dough with minimal dry flour prevents sticking on the board. Using too much dry flour will leave a bitter, burnt residue on your pan. A perfectly rolled flatbread should be completely uniform in thickness to trap steam efficiently during the final cooking stage.
The Flat Surface Press And Puff Method
Cooking flatbreads on an induction surface requires a completely different puffing technique since you cannot move the dough directly over a naked fire. Place the rolled disc onto the hot tawa and wait for tiny bubbles to appear on the surface. This usually takes about thirty seconds. Flip the flatbread gently using a spatula to cook the other side until small brown spots begin to form evenly across the surface. To make the flatbread puff up entirely on the flat surface, you must use a clean, tightly folded cotton kitchen towel. Gently press the outer edges of the flatbread with the folded towel. This targeted physical pressure forces the hot steam trapped inside the dough to move toward the centre, causing the two layers to separate and balloon outward beautifully.
Trapping Vapour For Long Lasting Softness

The moments immediately following the cooking process determine how long your flatbreads will remain soft and enjoyable to eat. As soon as you pull the fully puffed bread off the hot tawa, lightly brush one side with melted clarified butter or cold pressed oil to seal in the residual moisture. Stack the hot breads carefully inside an insulated casserole dish lined with a thick cotton napkin. The cotton fabric naturally absorbs any excess condensation while keeping the trapped vapour circulating gently around the stack. Leaving them exposed to the open kitchen air for even a few minutes will cause them to dry out quickly and turn highly brittle. Proper thermal storage ensures they remain wonderfully soft and ready to serve.