Mathri is a crispy, flaky snack made from flour, semolina and a handful of spices, usually deep-fried. Baking it in an OTG instead follows almost the same idea, just with dry heat rather than oil. The dough stays exactly the same, but instead of frying in batches, you lay the mathris out on a tray and let the oven do the work, which is genuinely easier if you’re making a bigger batch for sargi.
The dough is really where most of the effort goes, and it’s not complicated. It needs to be stiff, almost tighter than regular roti dough, since a soft dough won’t hold its shape or crisp up properly in the oven. A generous amount of ghee rubbed into the flour before adding water is what gives mathri its flaky bite, so this step shouldn’t be rushed. Pricking each mathri a few times with a fork before baking also matters more than it seems, since it stops them from puffing up unevenly in the heat. OTGs can run a little uneven too, so keeping an eye on the tray and turning
Mathri is a crispy, flaky snack made from flour, semolina and a handful of spices, usually deep-fried. Baking it in an OTG instead follows almost the same idea, just with dry heat rather than oil. The dough stays exactly the same, but instead of frying in batches, you lay the mathris out on a tray and let the oven do the work, which is genuinely easier if you’re making a bigger batch for sargi.
The dough is really where most of the effort goes, and it’s not complicated. It needs to be stiff, almost tighter than regular roti dough, since a soft dough won’t hold its shape or crisp up properly in the oven. A generous amount of ghee rubbed into the flour before adding water is what gives mathri its flaky bite, so this step shouldn’t be rushed. Pricking each mathri a few times with a fork before baking also matters more than it seems, since it stops them from puffing up unevenly in the heat. OTGs can run a little uneven too, so keeping an eye on the tray and turning it around halfway through baking helps everything come out the same colour.
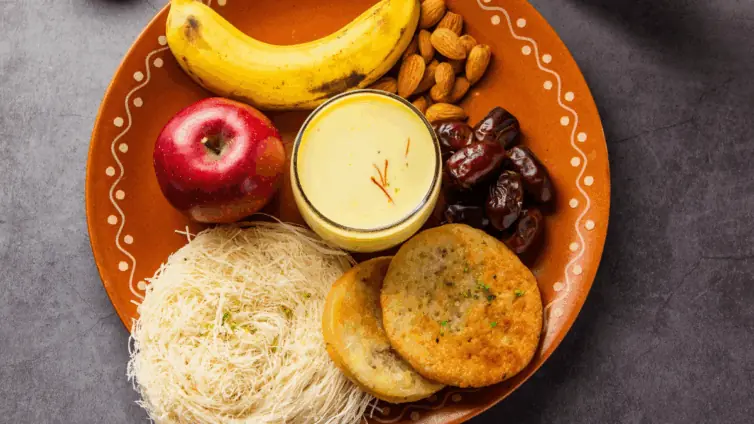
Mathri fits naturally into a Karwa Chauth sargi thali because it keeps well and doesn’t need to be eaten hot to taste good. Since sargi is eaten so early, before the sun is even up, having something already made and just needing to be plated helps a lot. A batch of mathri baked a day or two in advance, once fully cooled and stored properly, stays crisp and ready to go, so there’s one less thing to worry about on the morning of the fast itself.