How To Make Ghee From Curd: An Indian Tradition Revived
How To Make Ghee From Curd: An Indian Tradition Revived
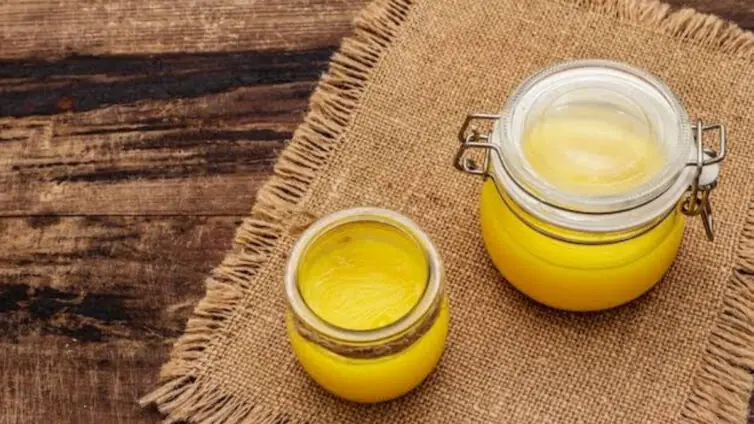


The molecular structure of fat changes entirely when it passes through a stage of bacterial fermentation. Exploring the older, slower method of clarifying butter reveals why ancient culinary systems prioritised a living culture over modern mechanical speed.
Most modern kitchens have grown accustomed to making ghee by collecting the pale layer of cream that rises to the top of boiled milk over several weeks. While this direct cream method is undeniably convenient, it skips the vital intermediate stage that defined traditional dairy processing for generations. Authentic ghee starts not with raw fat but with a massive pot of completely set curd. This slow, deliberate journey from whole milk to fermented yoghurt, and then to churned butter, introduces specific lactic acids that pre-digest the dairy proteins. The resulting fat possesses a distinct granular texture and an aromatic depth that a simple cream separation can never quite replicate. Reviving this traditional approach at home transforms a basic cooking fat into a deeply aromatic, shelf-stable golden elixir.
Setting The Fermented Foundation
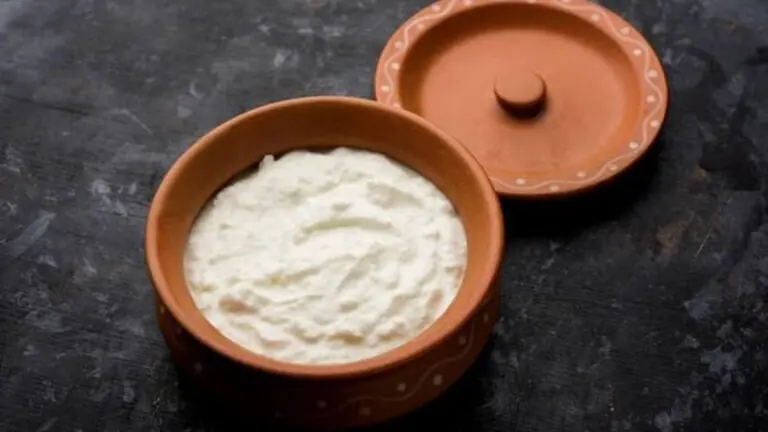
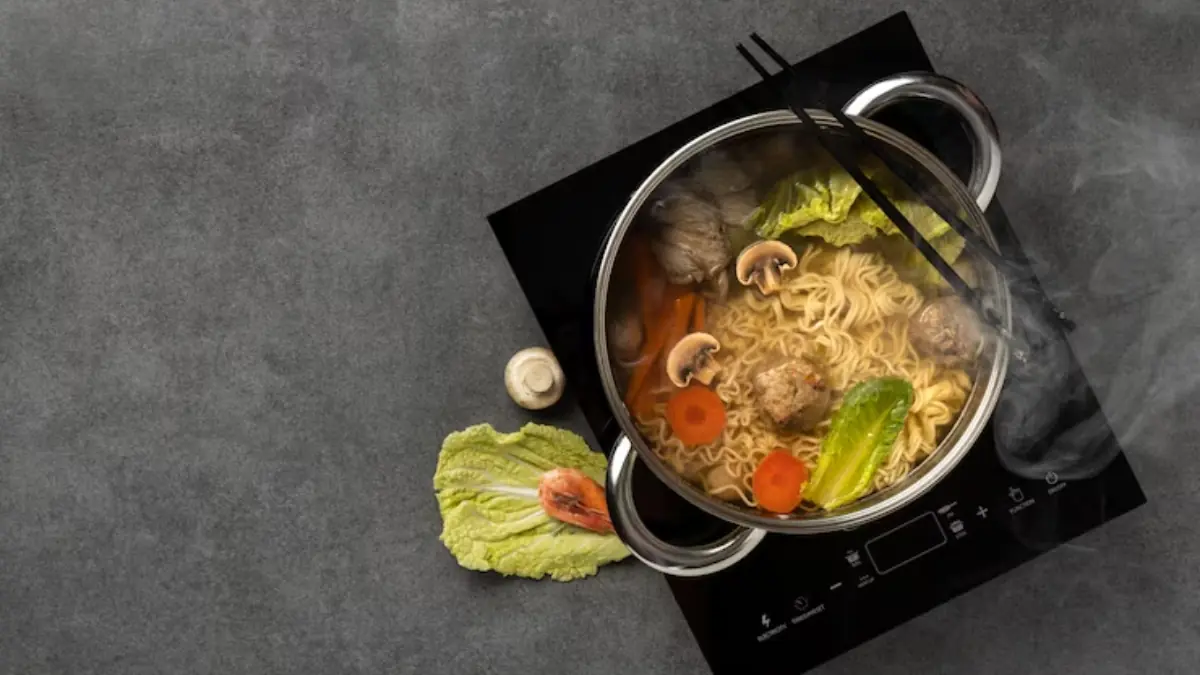
The entire process relies heavily on the quality of your starting ingredient, which must be whole, unhomogenised milk, to yield a decent amount of fat. Begin by heating the milk in a heavy-bottomed stainless steel vessel on an Induction Cooktop until it reaches a full boil. Lower the heat and let it simmer gently for a few minutes to ensure any stray water content evaporates completely. Allow the liquid to cool down gradually until it feels comfortably warm against the inside of your wrist, indicating it has reached the ideal temperature for bacterial activity. Stir in a spoonful of active, sour curd as a starter culture, ensuring it is distributed evenly through the warm liquid. Cover the vessel tightly and leave it undisturbed in a warm corner of your kitchen for at least eight to ten hours until it transforms into a thick, glossy mass of curd.
The Art Of Churning The Mass
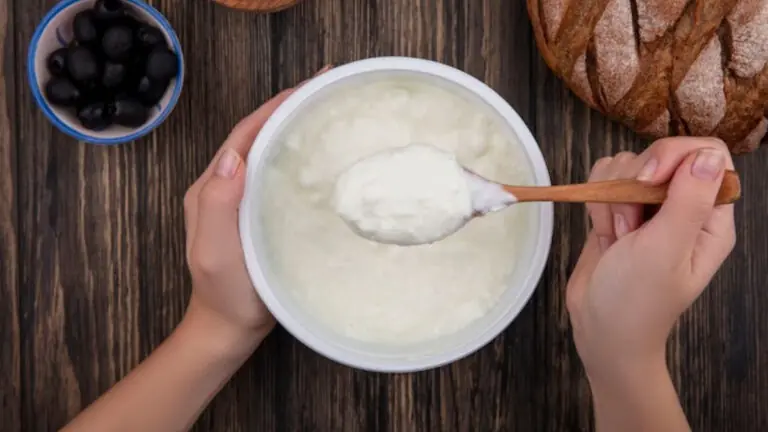
Traditional methods employ a wooden churner rotated bidirectionally using a rope mechanism to gently separate the fat molecules without heating them up. In a contemporary kitchen, you can achieve a similar result by transferring the chilled curd into a heavy-duty Mixer Grinder jar. Add an equal amount of cold water to the curd because the drop in temperature helps the microscopic fat globules clump together much more effectively. Churn the mixture steadily by using the pulse function, alternating between brief rests and continuous motion until you notice tiny, pale yellow grains beginning to float on the surface. Within a few minutes of steady churning, these separate grains will coalesce into large, soft mounds of fresh butter, traditionally known as makhan, leaving behind a thin, tart liquid known as authentic buttermilk or chaas.
Washing And Isolating The Fat
Before you subject the freshly harvested butter to any form of heat, you must thoroughly wash away any remaining traces of buttermilk. Leaving sour liquid trapped inside the fat clumps will cause the mixture to scorch quickly during the heating stage, imparting an unpleasant, burnt flavour to the final batch. Gently skim the floating mounds of butter out of the jar using clean hands or a fine mesh strainer, shaping them into loose balls. Submerge these butter balls into a deep container filled with ice-cold water, kneading them lightly to squeeze out any hidden pockets of whey. Repeat this rinsing process with fresh water two or three times until the liquid remains completely clear, leaving you with pure, washed butter fat that is ready for clarification.
The Precise Stage Of Clarification
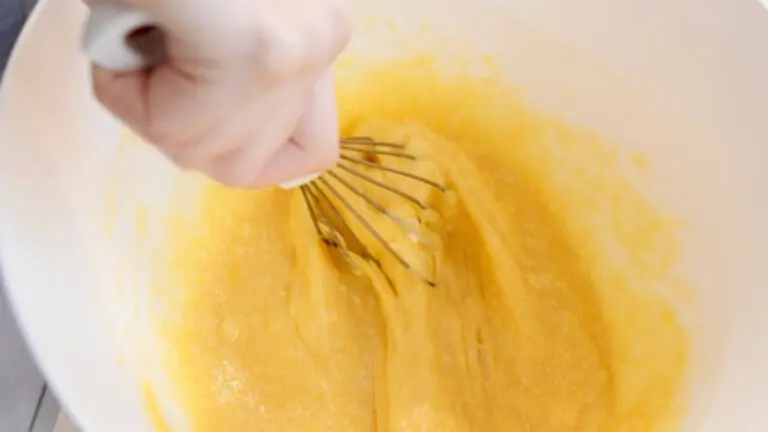
The transformation from raw butter to clear ghee requires absolute patience and a very low, consistent heat source to prevent burning. Place the washed butter balls into a durable pan and set it over the lowest flame of your Gas Stove. The butter will melt down into a frothy, opaque yellow liquid that will begin to bubble and hiss quite loudly as the remaining water content boils away. As the minutes pass, the loud bubbling will subside into a quiet simmer, and the cloudy liquid will gradually clear up to reveal a beautiful golden pool. You will notice pale milk solids sinking slowly to the absolute bottom of the pan, where they will begin to toast and turn a light caramelised brown. Watch the pot carefully during these final seconds because the aroma will suddenly shift from simple melted butter to a deeply nutty, rich fragrance.
Straining And Storing The Elixir
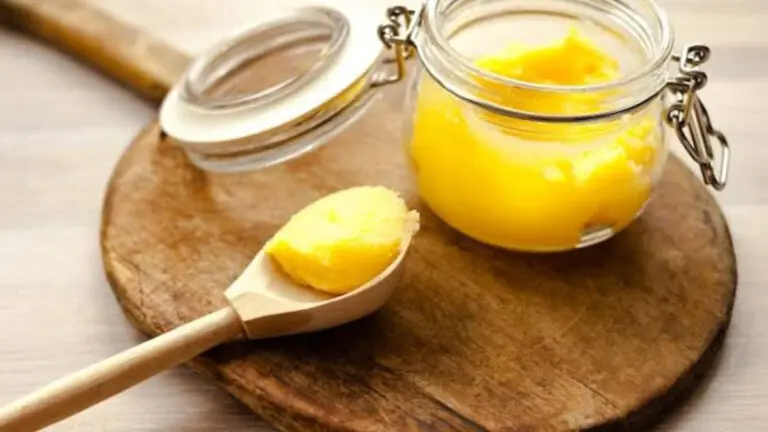
The moment the sediment at the bottom turns a warm amber colour and a fine, foamy layer blankets the surface, remove the pan from the heat immediately. Residual heat within the heavy metal pan will continue to cook the fat, so allowing it to sit on a hot burner for even an extra minute can darken the solids and ruin the delicate taste. Let the liquid cool down for roughly ten minutes so the heavy sediment settles completely at the base of the container. Line a clean metal strainer with a double layer of cheesecloth and pour the warm golden liquid through it directly into a clean, completely dry glass jar. Once the liquid cools down to room temperature, it will solidify into a beautiful, pale yellow fat with the characteristic granular texture that defines true traditional ghee.