Step-By-Step Guide To Make Chocolate From Scratch For Beginners
Step-By-Step Guide To Make Chocolate From Scratch For Beginners
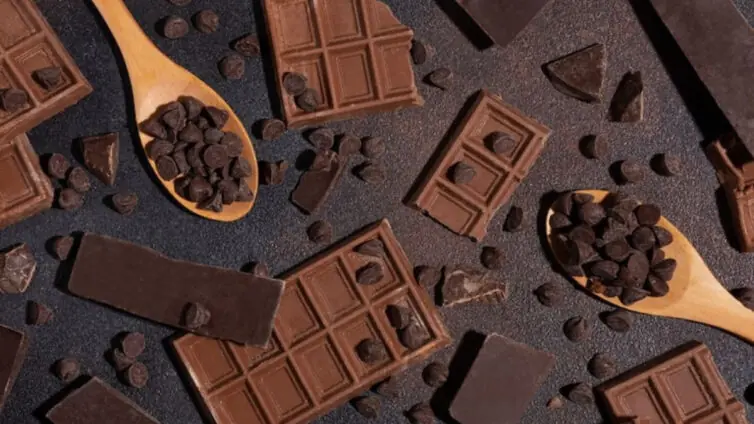


The wrinkled, bitter bean found inside a tropical cacao pod holds a complex web of fats and solids that taste nothing like the confectionery found on supermarket shelves. Taking control of the entire transformation at home allows you to witness the exact moment raw, earthy seeds develop into a glossy, snapping block of chocolate. This process is an exercise in food science and patience, turning an unpalatable agricultural seed into an artisan treat using basic kitchen tools.
Making chocolate completely from scratch is a rewarding project that bridges the gap between raw agriculture and home kitchen chemistry. The process begins with sourcing high-quality raw, unroasted cacao beans, which carry a distinctly acidic aroma from farm fermentation. While a standard home kitchen cannot duplicate the micro-smooth texture achieved by industrial mills, you can easily create a rustic, deeply complex dark bar using a good oven and a high-powered blender. The most important rule of this entire project is to completely eliminate moisture from your workspace. Water is the absolute enemy of liquid chocolate, and even a single stray drop from a damp spoon will cause the melting cocoa fats to bind with sugar solids instantly, turning your smooth liquid into a clumpy, ruined mass known as seizing.
Roasting For Flavour And Aroma
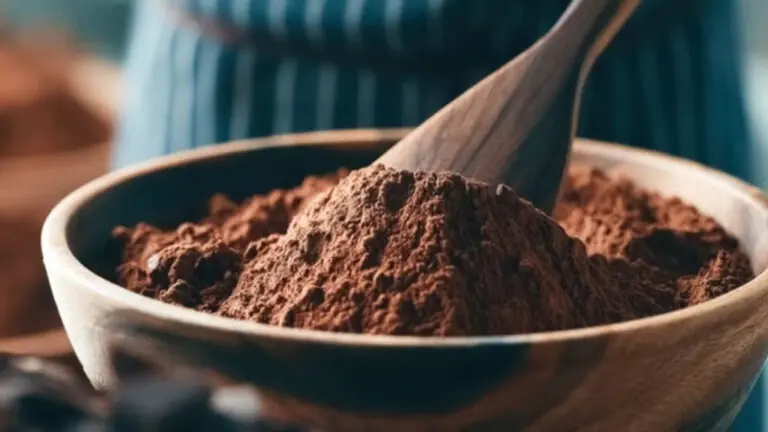
Roasting is the critical step that defines the ultimate flavour profile of your chocolate by driving off harsh volatile acids, reducing bitterness, and developing a rich cocoa aroma. Spread your raw cacao beans in a single layer across a large flat baking tray and place it in an oven preheated to 130°C. The roasting process takes about fifteen minutes, during which you must rely heavily on your senses rather than just a timer. After a few minutes, a heavy chocolate scent will fill the room, followed by a faint popping sound indicating internal moisture is expanding and loosening the outer husks. Once the aroma shifts from sweet to a sharper, heavier note, remove the tray immediately because over-roasting will scorch the fats and leave a bitter taste that sugar cannot fix.
Cracking And Winnowing The Husks
Once the roasted beans cool completely, you must separate the brittle, papery outer husks from the valuable dark nibs inside through a process called winnowing. A simple home method involves putting the cooled beans inside a sturdy zip-lock bag, sealing it almost completely, and rolling a heavy rolling pin firmly over the top to shatter the outer shells. Pour the mixture of cracked pieces into a wide, shallow bowl and work directly over a large kitchen sink to contain the mess. Using a household hair dryer set to a cool, low speed, blow air gently across the bowl while tossing the pieces upward. The moving air current will catch the lightweight husks and blow them clear out of the bowl, while the heavy, clean cacao nibs drop straight back to the bottom.
Grinding Nibs Into Fluid Liquor
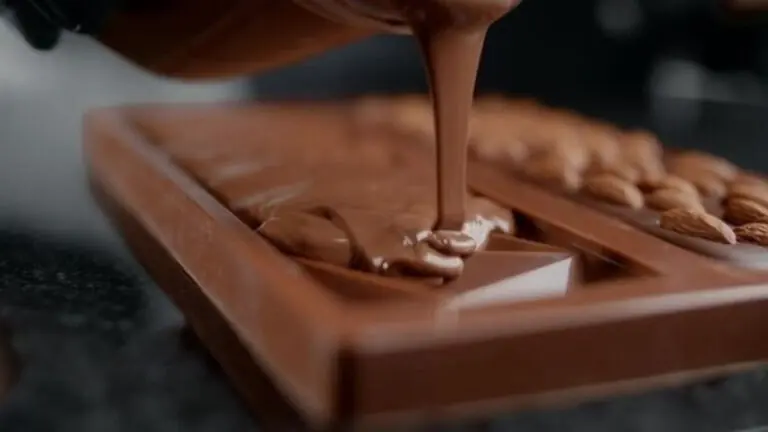
Cacao nibs are composed of roughly equal parts solid cocoa particles and rich cocoa butter fat, requiring mechanical friction to release the trapped oil. Transfer your clean nibs into a high-powered blender and start blending on low speed before cranking it up to high, pausing frequently to scrape down the sides of the jar. The friction from the spinning blades generates enough heat to melt the cocoa butter, transforming the dry powder into a glossy fluid known as chocolate liquor. Once the liquid runs free, add finely powdered icing sugar rather than regular granulated sugar, which will not dissolve in fat and leaves the bar gritty. A solid starting ratio for a balanced dark chocolate is adding one part icing sugar to two parts chocolate liquor, blending until uniform.
The Chemistry Of Tempering For Snap And Gloss
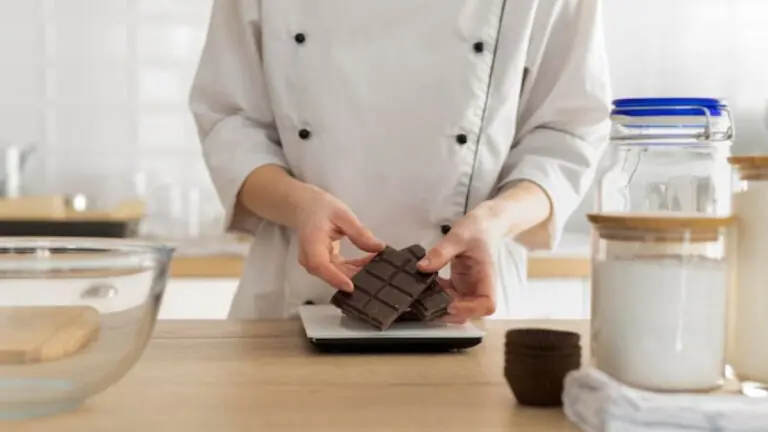
Pouring warm chocolate straight into a mould results in a dull, soft bar that melts instantly and develops white streaks because the fats need a specific crystalline structure. To achieve a professional finish, you must temper the chocolate by melting your mixture over a double boiler until it reaches 45°C to break down all unstable crystals. Remove the bowl from the heat and drop in a few small chunks of unmelted chocolate to act as a seed culture while stirring continuously. Keep the liquid moving until the temperature drops to exactly 27°C, which encourages stable crystals to form alongside unwanted unstable ones. To eliminate the bad structures, place the bowl back over the warm water briefly until the thermometer reads 31°C, leaving you with a perfectly tempered liquid ready for the final step.
Moulding And Setting The Final Bar
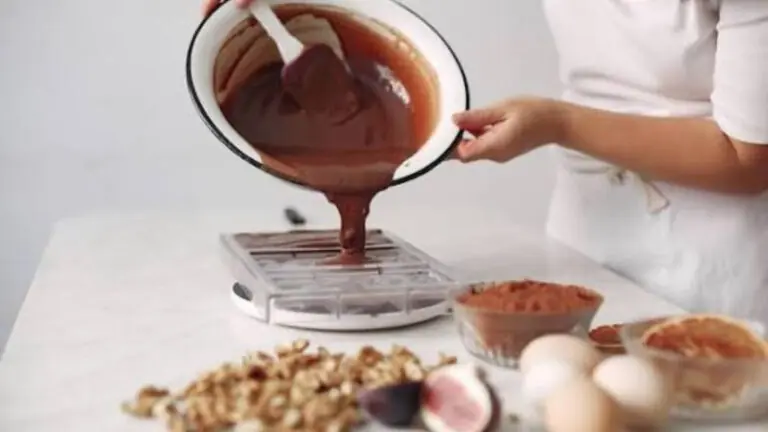
Pour the glossy, tempered liquid efficiently into clean, dry silicone moulds before it begins to cool and thicken. Once each cavity is filled to the brim, lift the moulds up slightly and tap them firmly against the kitchen counter several times to force any trapped air bubbles to rise to the surface and pop. Place the filled moulds flat on a shelf inside the refrigerator and leave them undisturbed for about thirty minutes to chill. As the tempered cocoa butter solidifies, it naturally contracts and shrinks away from the edges of the form, allowing you to gently peel the silicone back and pop out a finished bar. Your handmade creation will boast a beautiful glossy sheen, a clean look, and a sharp snap when broken into pieces, ready to be stored in a cool, dry cupboard.