Rajma Chawal is one of those timeless North Indian comfort meals that never gets old, soft kidney beans slow-simmered in a boldly spiced onion-tomato gravy, served alongside fluffy steamed rice. This version takes a clever shortcut by bringing everything together in a pressure cooker, inspired by the spirit of a khichdi-style meal, unfussy and deeply satisfying in every bite. Rajma means kidney beans, chawal means rice, and the two together have earned a permanent spot on the comfort food hall of fame in Indian kitchens everywhere.
This recipe was made for busy days and lazy ones alike. Whether you’re rushing through a weekday or just don’t feel like standing over the stove, the pressure cooker does the heavy lifting – one pot, minimal cleanup, maximum flavour. What comes out is a rich, home-style dish with a soft, slightly creamy texture that’s hearty enough to be a complete meal on its own. Everything you need is likely already in your pantry: red kidney bea
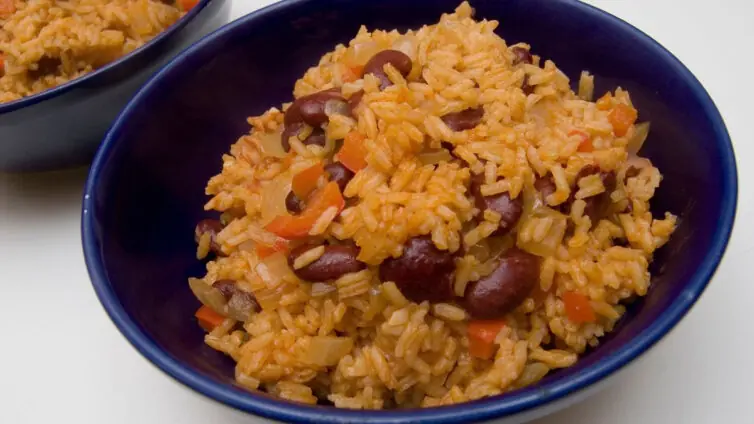
Rajma Chawal is one of those timeless North Indian comfort meals that never gets old, soft kidney beans slow-simmered in a boldly spiced onion-tomato gravy, served alongside fluffy steamed rice. This version takes a clever shortcut by bringing everything together in a pressure cooker, inspired by the spirit of a khichdi-style meal, unfussy and deeply satisfying in every bite. Rajma means kidney beans, chawal means rice, and the two together have earned a permanent spot on the comfort food hall of fame in Indian kitchens everywhere.
This recipe was made for busy days and lazy ones alike. Whether you’re rushing through a weekday or just don’t feel like standing over the stove, the pressure cooker does the heavy lifting – one pot, minimal cleanup, maximum flavour. What comes out is a rich, home-style dish with a soft, slightly creamy texture that’s hearty enough to be a complete meal on its own. Everything you need is likely already in your pantry: red kidney beans, rice, onions, tomatoes, ginger, garlic, green chillies, and a handful of everyday spices. Whole spices lay the foundation, while the slow-cooked onion-tomato base gives the dish its characteristic depth and warmth.
Beyond being delicious, rajma chawal earns its place as a regular weeknight meal for good reason. Kidney beans bring a solid hit of protein, fibre, and minerals, while rice keeps you fuelled and full. Across North India, it’s the kind of meal that feels like a hug in a bowl, and it only gets better when paired with a refreshing raita or a crisp side salad. On warmer days, cool it down with one of those creamy drinks like chaas the slight tang cuts right through the richness beautifully.
The recipe is wonderfully forgiving and easy to make your own. Dial the spice up or down, toss in some kasurimethi or fresh mint for extra flavour, or tweak the consistency, wetter and scoopable like khichdi, or drier and more distinct grain by grain. And if you somehow have leftovers, consider yourself lucky, because this dish tastes even better the next day once the spices have had time to settle in. Reheat, plate up, and enjoy – it’s that simple.