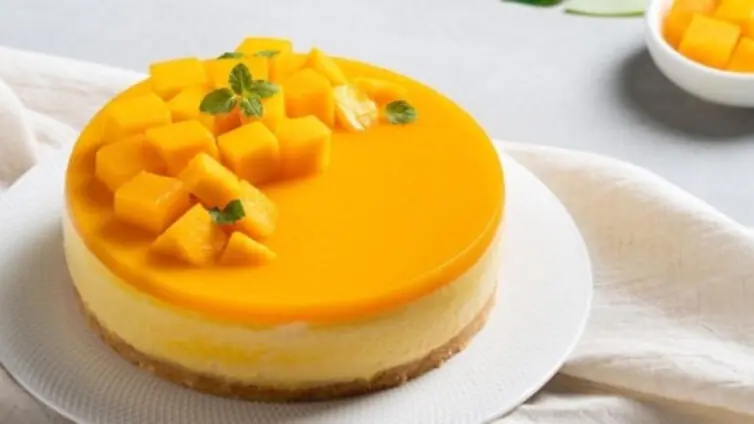
There is something deeply satisfying about making a dessert that feels luxurious but takes almost zero actual cooking. This recipe is all about working with the summer harvest of mangoes and turning them into something that looks like it took hours to assemble. The idea to use a kadai for the setting process is a fun twist, especially when you have a thick, heavy-bottomed pan that holds a chill. It is a great way to show that you do not need professional baking tools to make something delicious.
The beauty of a no-bake cheesecake is the texture. Because it sets in the fridge rather than the oven, the filling stays silky and smooth. The sharpness of the cream cheese balances perfectly with the natural sugar of the mangoes. We skip the eggs and the flour, keeping the focus entirely on fresh, seasonal ingredients. It is an honest and straightforward way to impress your friends or family without spending the entire day in a hot kitchen.
Beyond just being a quick dessert, this cheesecake is
There is something deeply satisfying about making a dessert that feels luxurious but takes almost zero actual cooking. This recipe is all about working with the summer harvest of mangoes and turning them into something that looks like it took hours to assemble. The idea to use a kadai for the setting process is a fun twist, especially when you have a thick, heavy-bottomed pan that holds a chill. It is a great way to show that you do not need professional baking tools to make something delicious.
The beauty of a no-bake cheesecake is the texture. Because it sets in the fridge rather than the oven, the filling stays silky and smooth. The sharpness of the cream cheese balances perfectly with the natural sugar of the mangoes. We skip the eggs and the flour, keeping the focus entirely on fresh, seasonal ingredients. It is an honest and straightforward way to impress your friends or family without spending the entire day in a hot kitchen.
Beyond just being a quick dessert, this cheesecake is a fantastic showstopper for any get-together. The bright, sunset-orange mango top layer looks incredible next to the white creamy centre. Since it does not rely on gelatin to hold its shape, you get a soft, melt-in-the-mouth consistency that is way better than anything store-bought. It is a brilliant example of how you can adapt classic Western techniques to fit a relaxed, Indian home-kitchen style.
Read More