

Copyright © 2025, My Kitchen Diaries .All Rights Reserved


Induction cooktops produce a field that transfers energy to the bottom of magnetic pots and pans, heating them. That’s different from electric stoves, where an electric current heats up a burner that transfers heat to the pot. While making rotis, especially in this summer heat, feeling the kitchen warm up sounds like a bad idea.
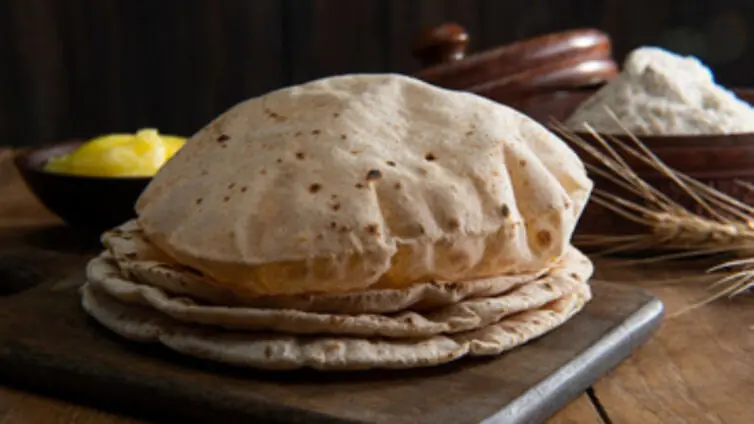
Roti is an Indian staple in many homes. People have it for lunch, dinner and even breakfast! Many even pack them for lunch boxes or office lunches with potato curry, chicken curry, and egg curry. It is a very light meal and flatbread that keeps you full for a good few hours. Making rotis needs practice and precision. But if you’re in a hurry and you need a new way to puff your rotis right away, use an induction. Do you know why?
The solution to modern problems comes from modern appliances such as the induction cooktop and how to use it to make rotis with out drying them out. Even if your electricity provider is not 100% renewable, induction is still cle
Read MoreIn a large bowl, mix 2 cups of whole wheat flour and oil. Gradually add water, a bit at a time, mixing as you go.
Knead for 8-30 minutes and cover with a moist towel. Let it rest for 20 to 30 minutes; this relaxes the gluten and makes rolling much simpler.
Divide the resting dough into equal parts, about the size of a golf ball. Dust your rolling surface gently with dry atta.
Roll each part into an even circle approximately 6 to 7 inches in diameter, turning as you go to maintain a uniform shape and thickness throughout.
Set your induction to medium-high, around 180 to 200°C. If it has temperature settings, turn it to level 7 out of 10.
Heat your tawa for 2 minutes till it’s appropriately heated. Place a rolled roti on the heated tawa. Cook for 30 to 1 minute and 20 seconds until little bubbles form on the surface.
Flip and cook for a further 30 seconds, or until light golden spots emerge. For the final puff, use tongs to hold the roti directly over the induction heating zone.
On most induction cooktops, laying it back flat on the tawa and gently pressing with a towel will encourage it to puff completely.
Remove from the tawa and immediately apply 2 tablespoons of ghee generously while the roti is still hot.
Stack the rotis in a covered container lined with a towel to keep them warm and soft until ready to serve.
Yes, resting the dough for at least 20–30 minutes relaxes the gluten and helps make softer rotis.
Yes, rotis can puff well on induction if the dough is soft, the tawa is evenly heated, and the heat setting stays medium-high.
An induction-friendly cast-iron or triply stainless steel tawa with a flat magnetic base works best for soft rotis.
A medium-high setting around 180–200°C or level 6 to 7 on most induction cooktops works well for rotis.
Copyright © 2025, My Kitchen Diaries .All Rights Reserved